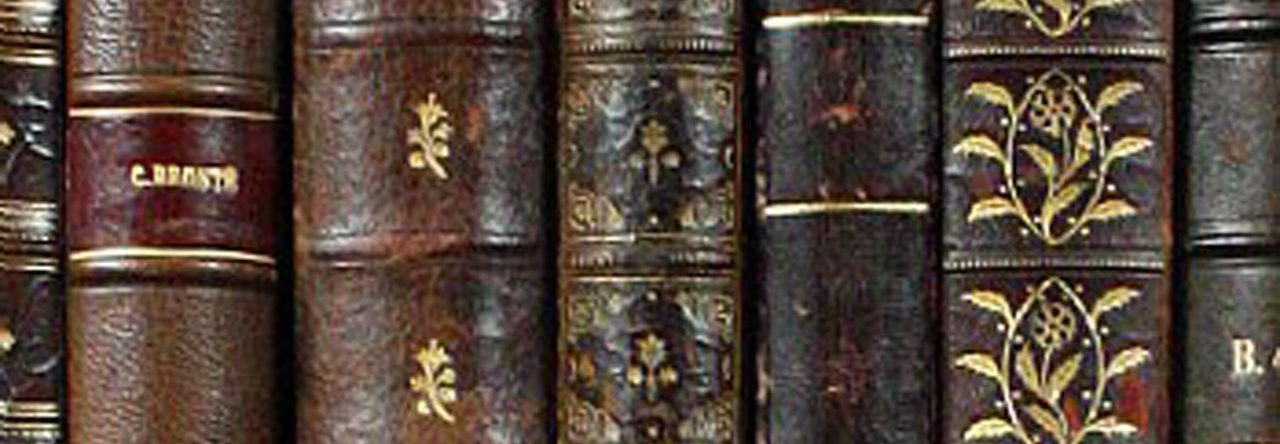
A friend mentioned that he’d like to see what I would do with a copy of “The Hobbit” by Tolkien. I wondered about that myself. Here’s what I did.
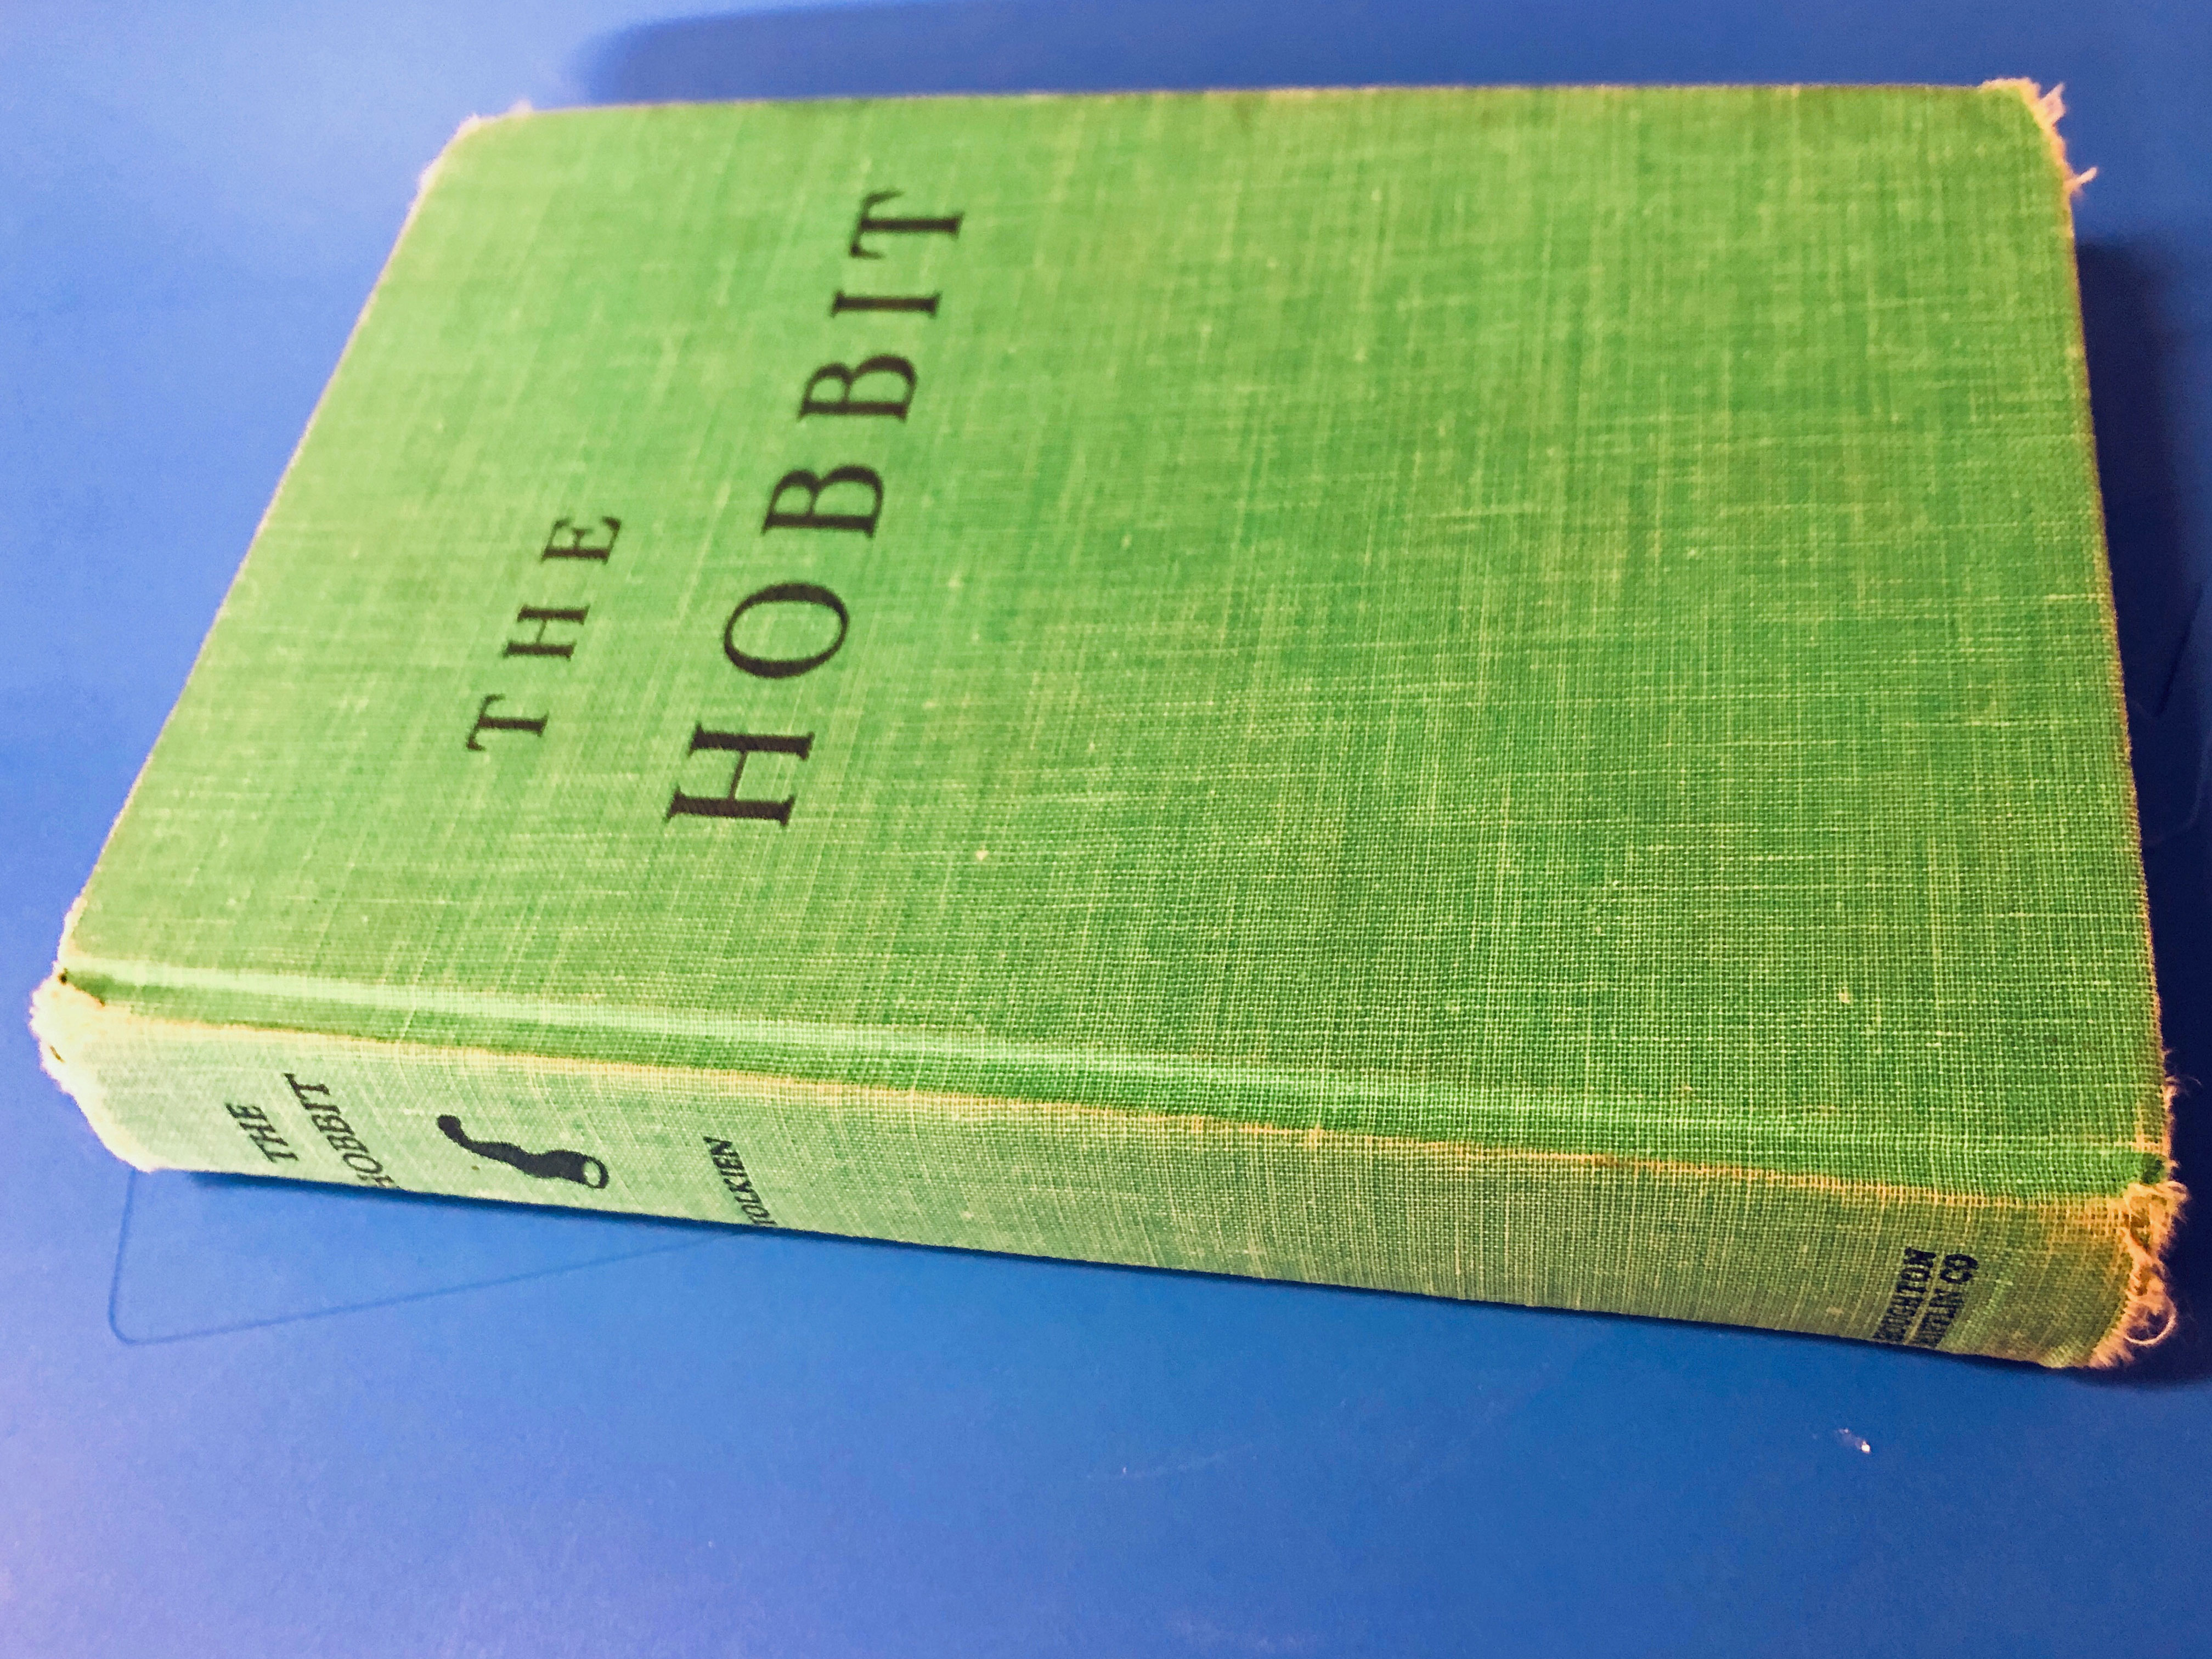
First, found a hardcover copy of the book that was sewn, not glued. This was an ex-library book with a lot of use that was still in good condition.
Next I removed the old cover, keeping it handy to protect the text block during rebinding.

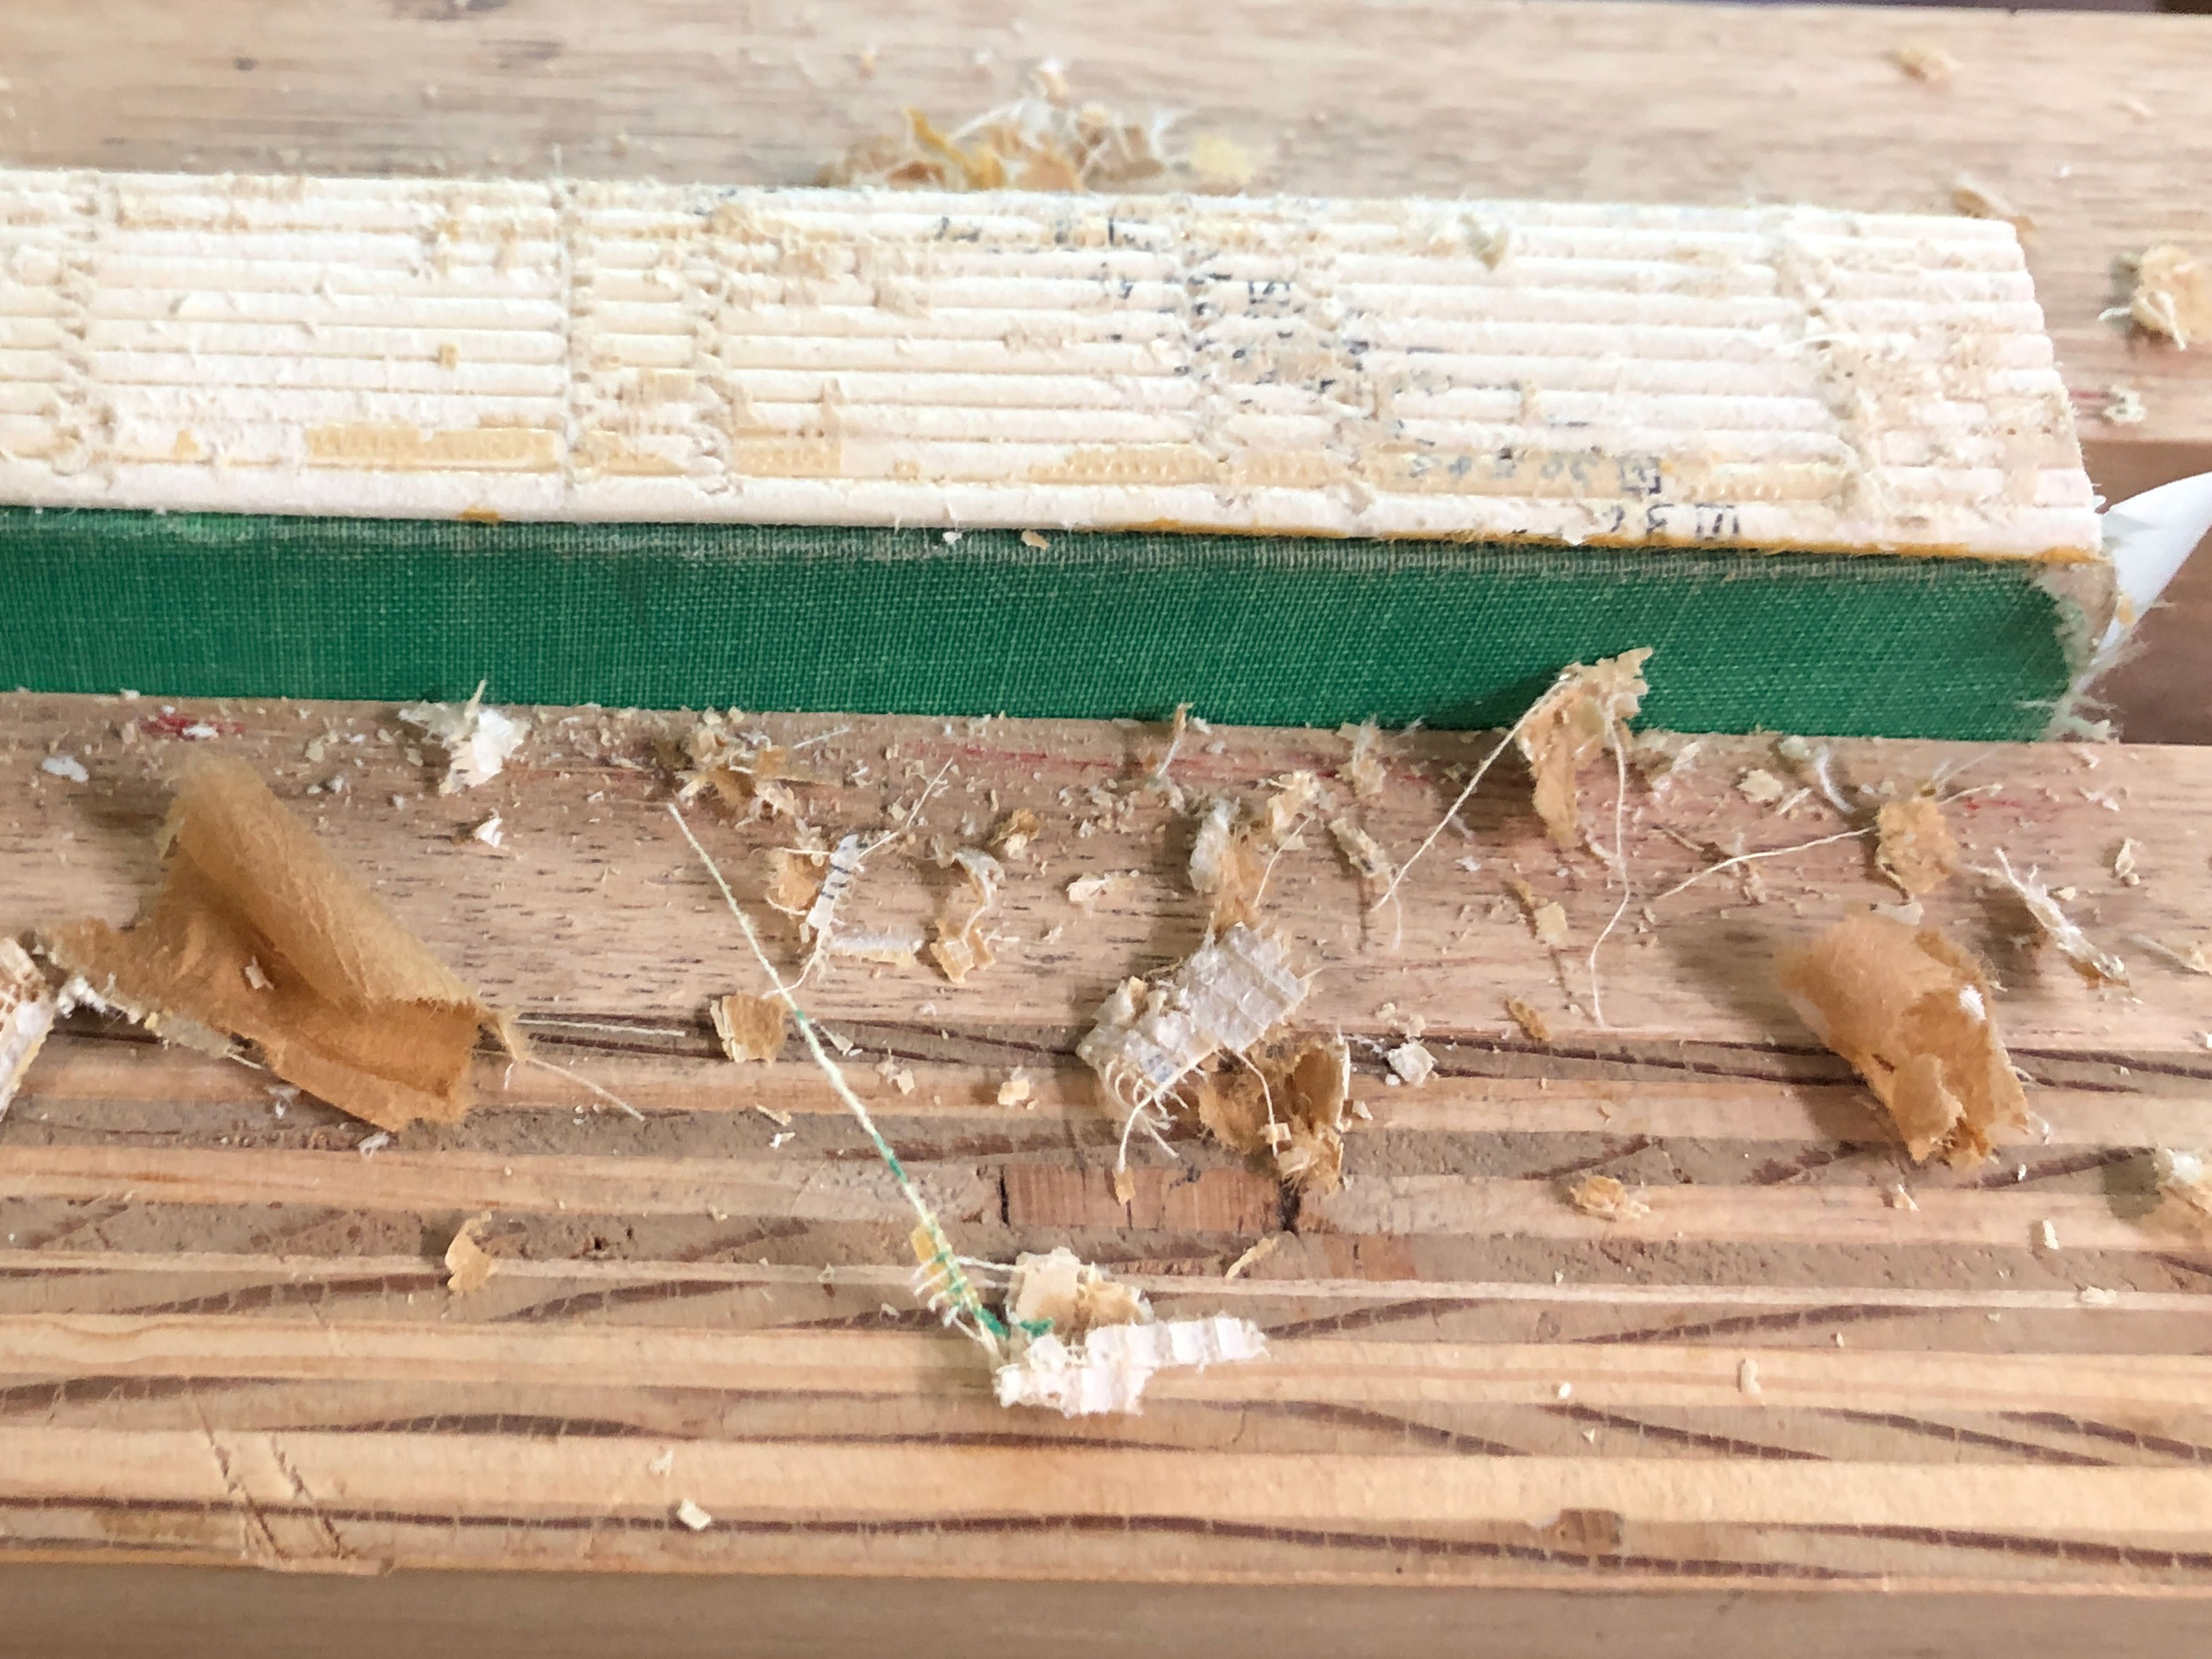
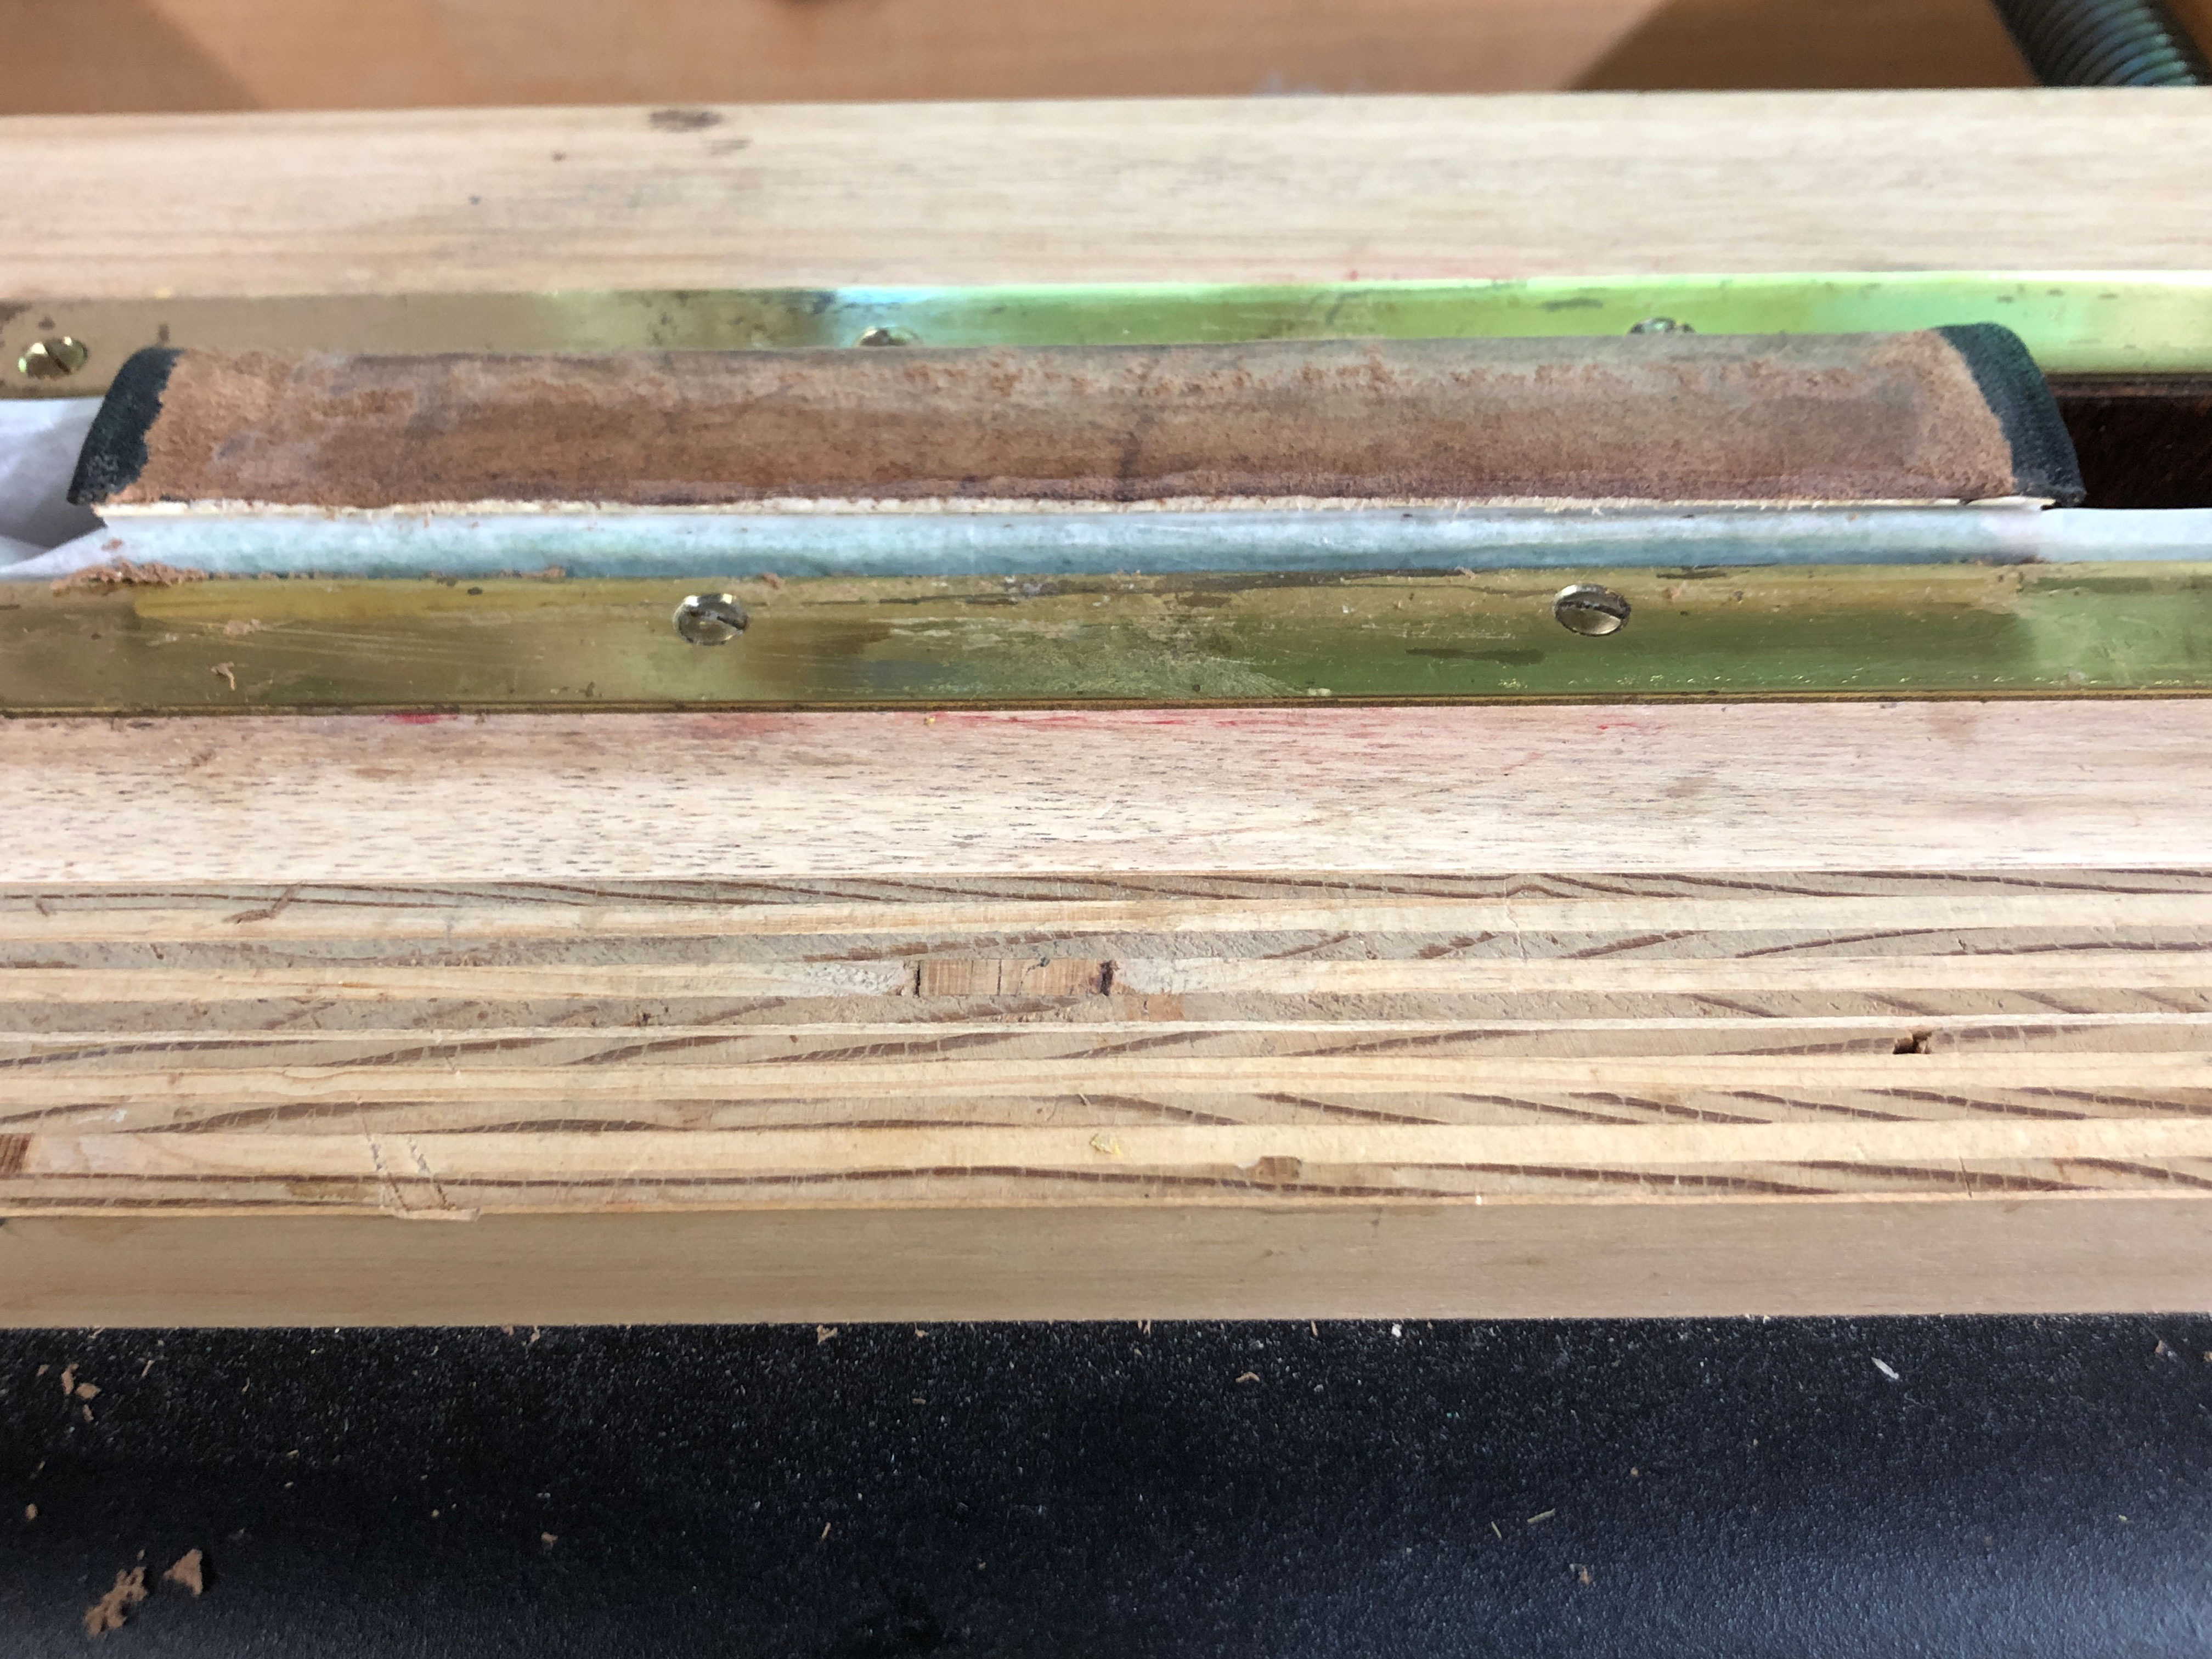
Then I chucked the book in the job backer to clean the old paper and glue off the spine.
Then I made the final decisions about leather and endpapers. Made flexi-fold endpapers. A typical book has a “stiff leaf” – the colored endsheet is pasted to the first white sheet. When this page is turned, it tends to lift the next white endsheet with it. A “flexi-fold” endsheet has the colored sheet pasted to the first white endsheet just along the outside edge, which makes the page much more flexible. It shouldn’t lift the next page when turned.

After cleaning and reshaping the spine, I reglued it, decorated the book edges, attached leather endbands, then lined spine with suede and sanded that smooth.
Then added a strip of linen to aid it attaching the new cover.

On top of the linen I glued a German hollow tube.

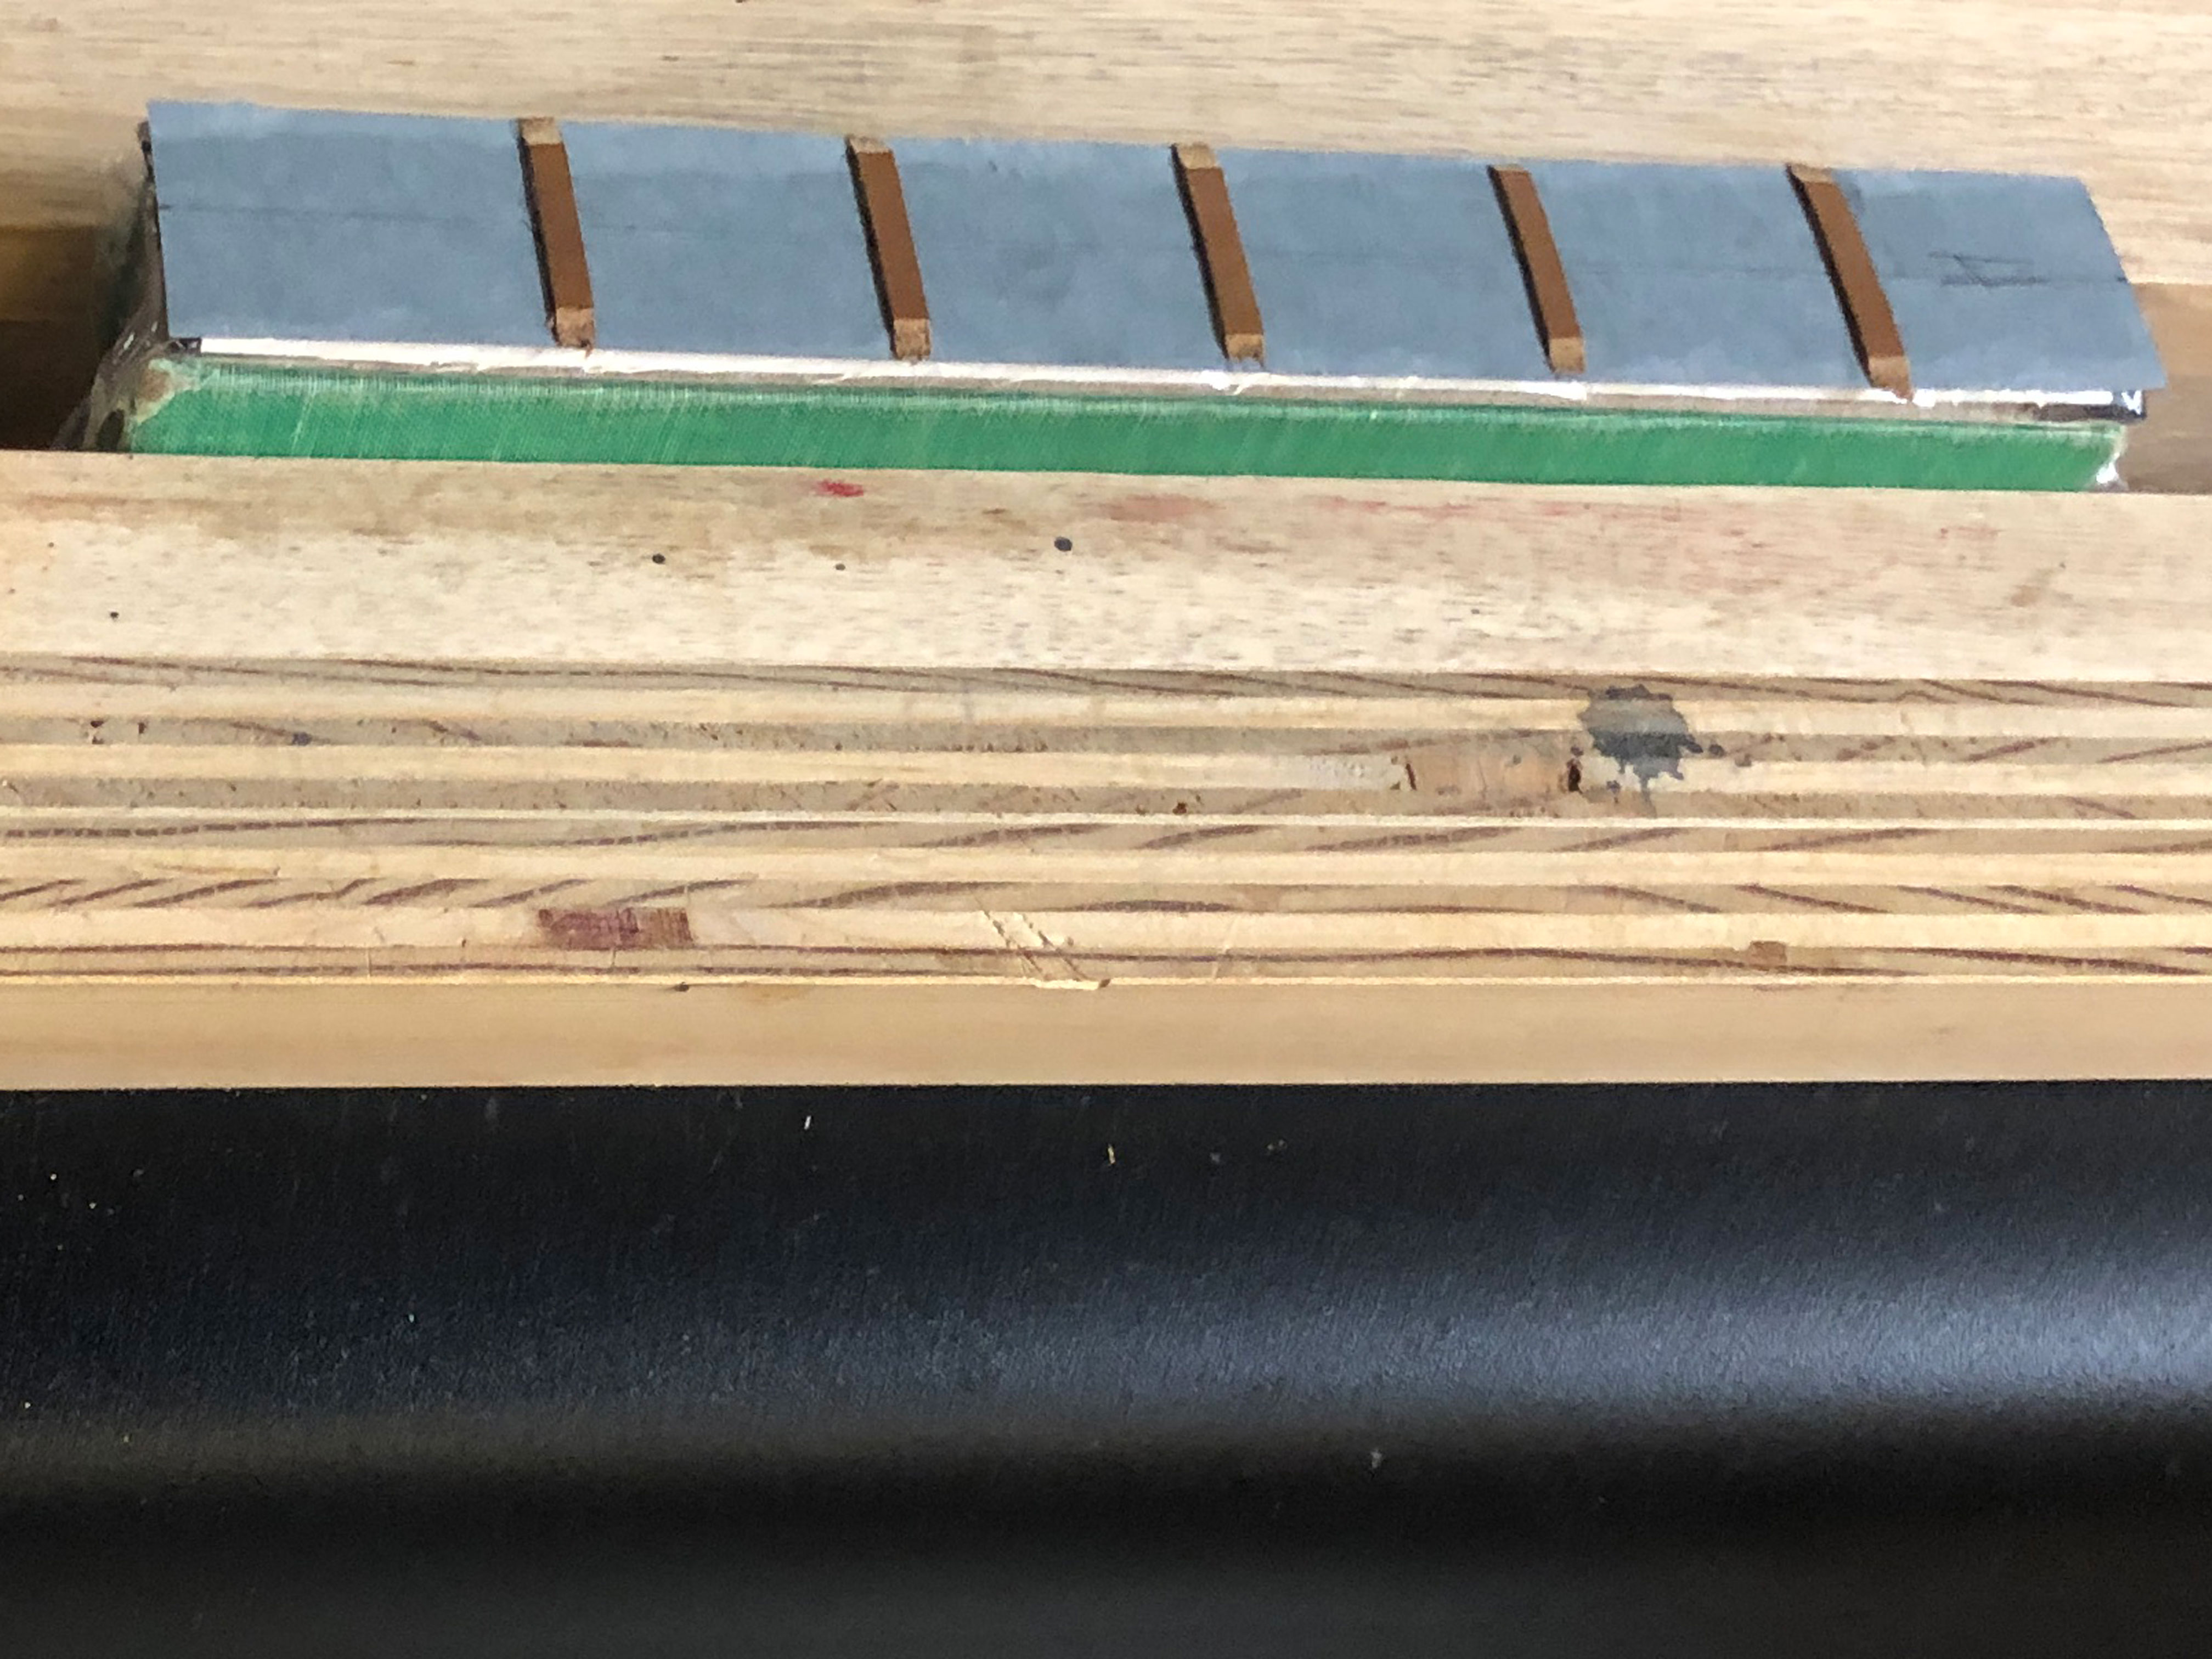
Marked up a spine lining strip for false raised bands.
Double-check the fit of the spine strip with false leather bands attached.
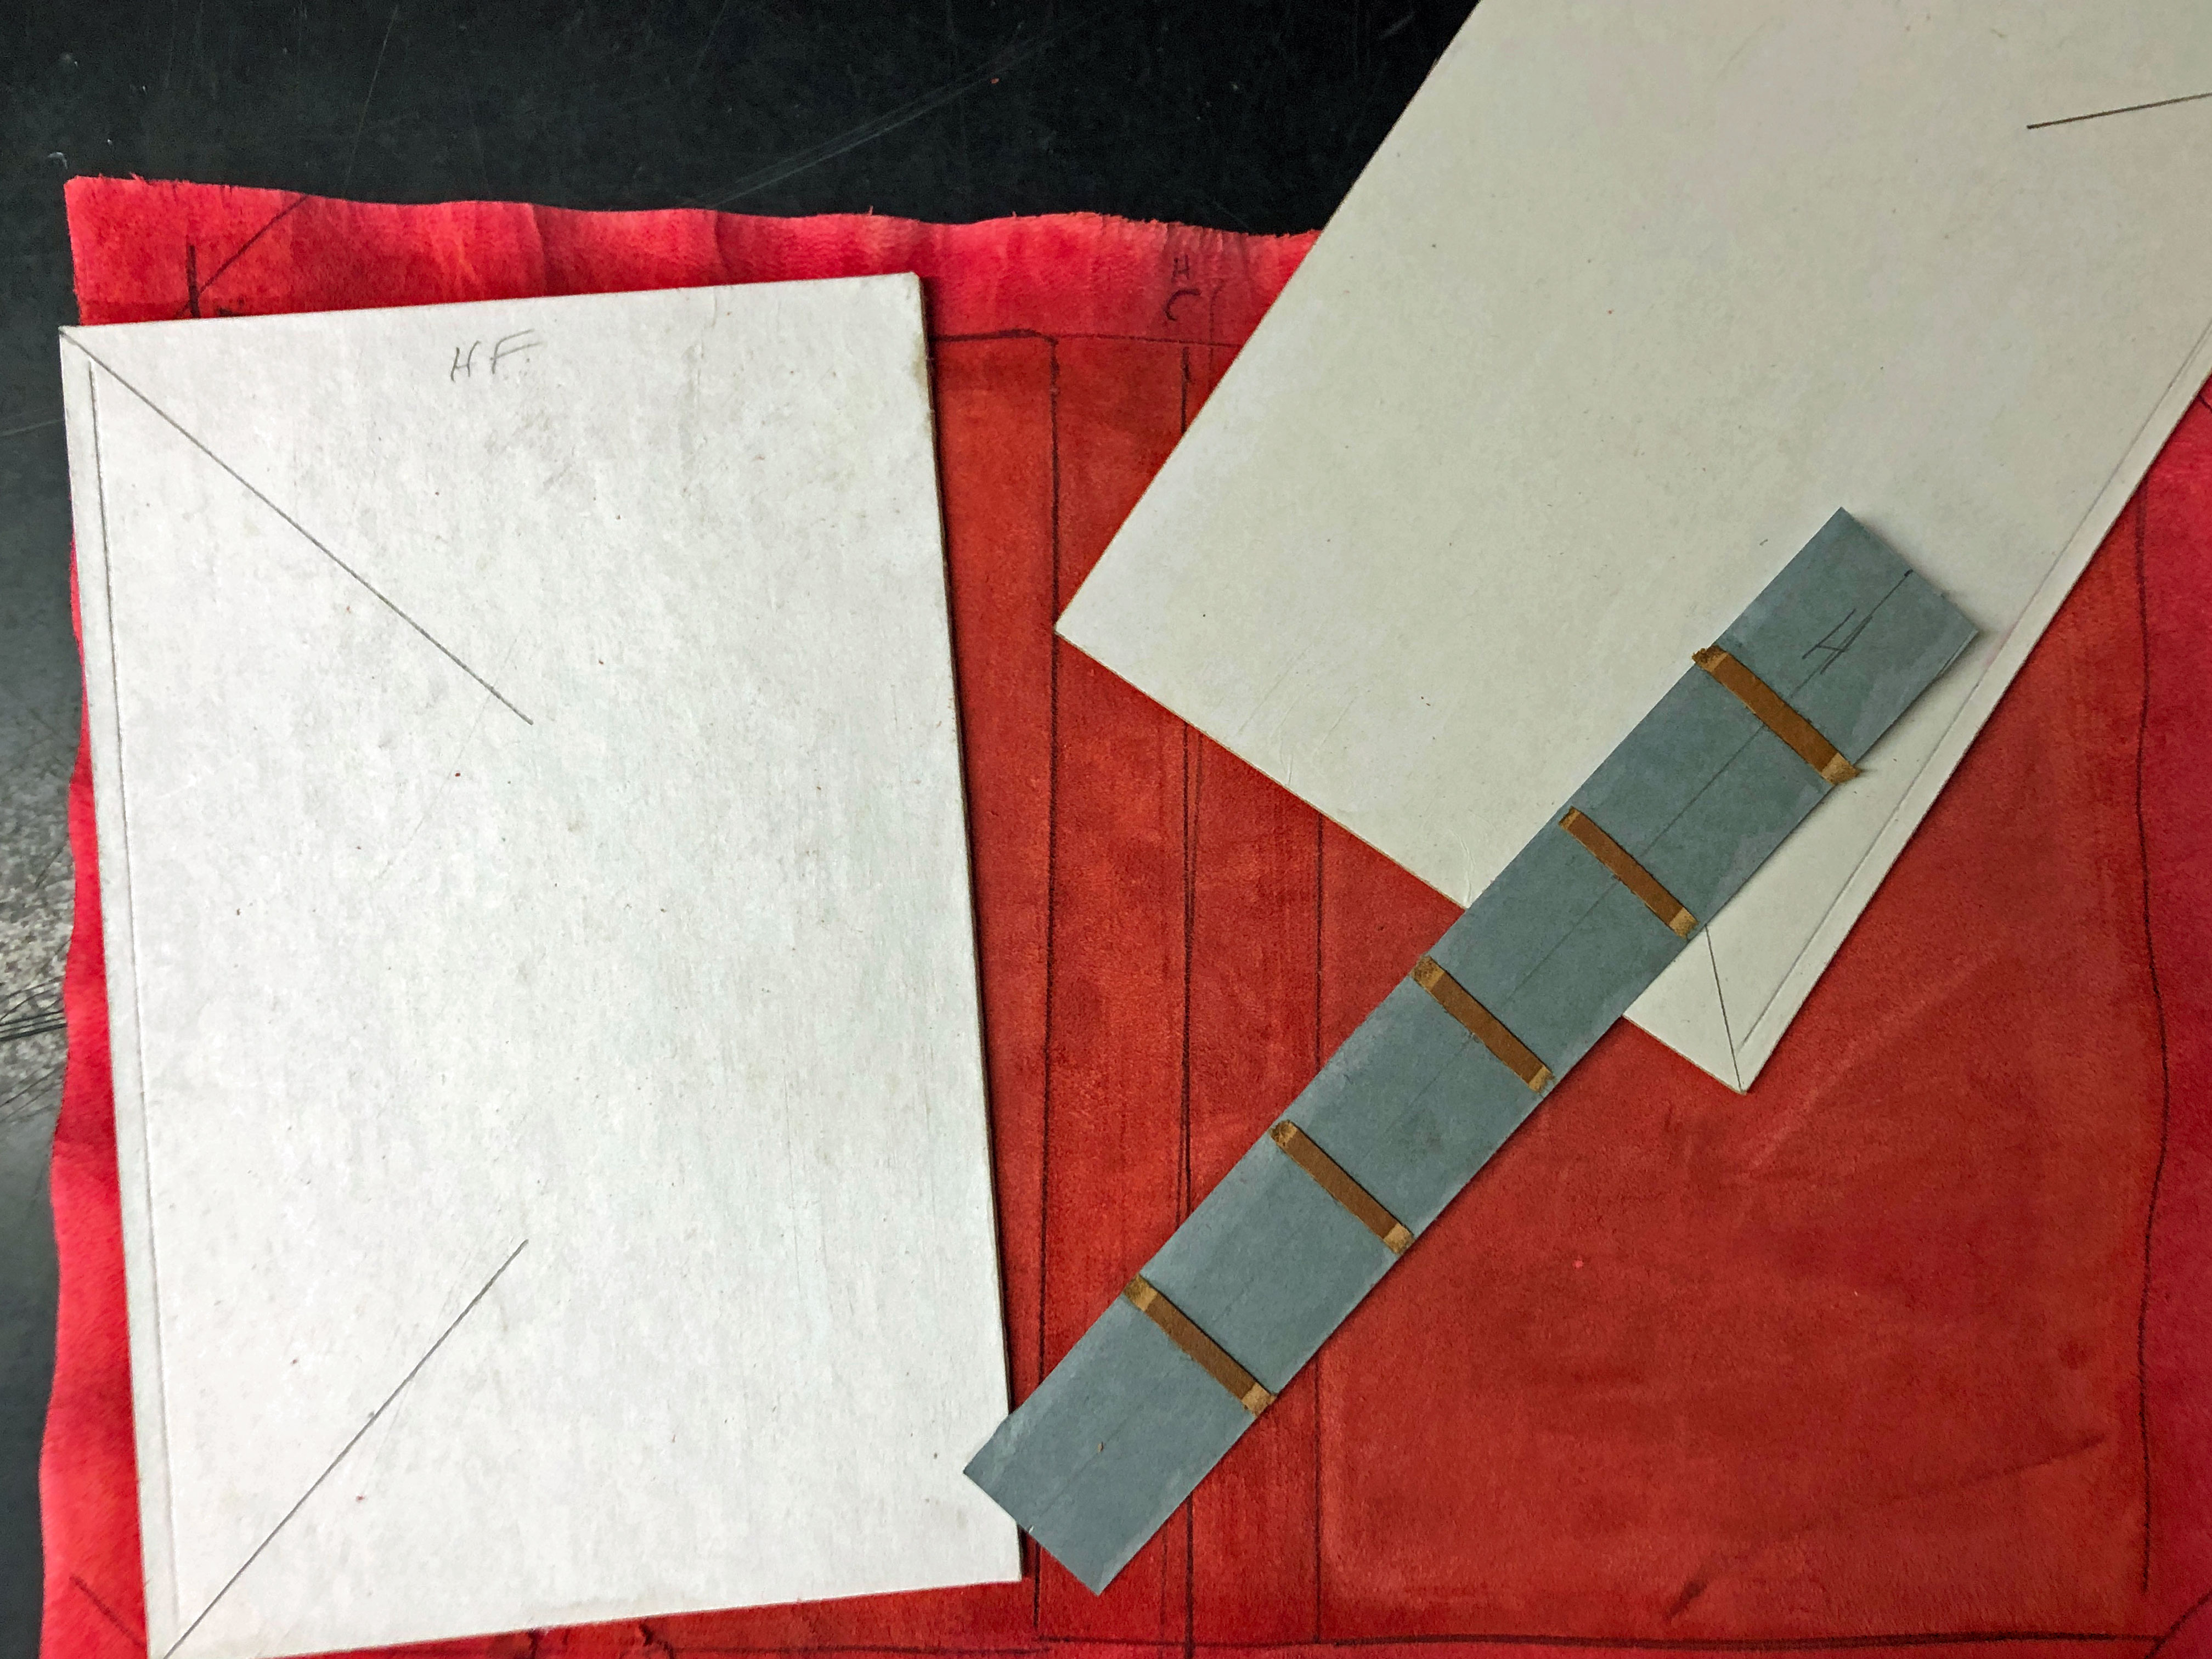
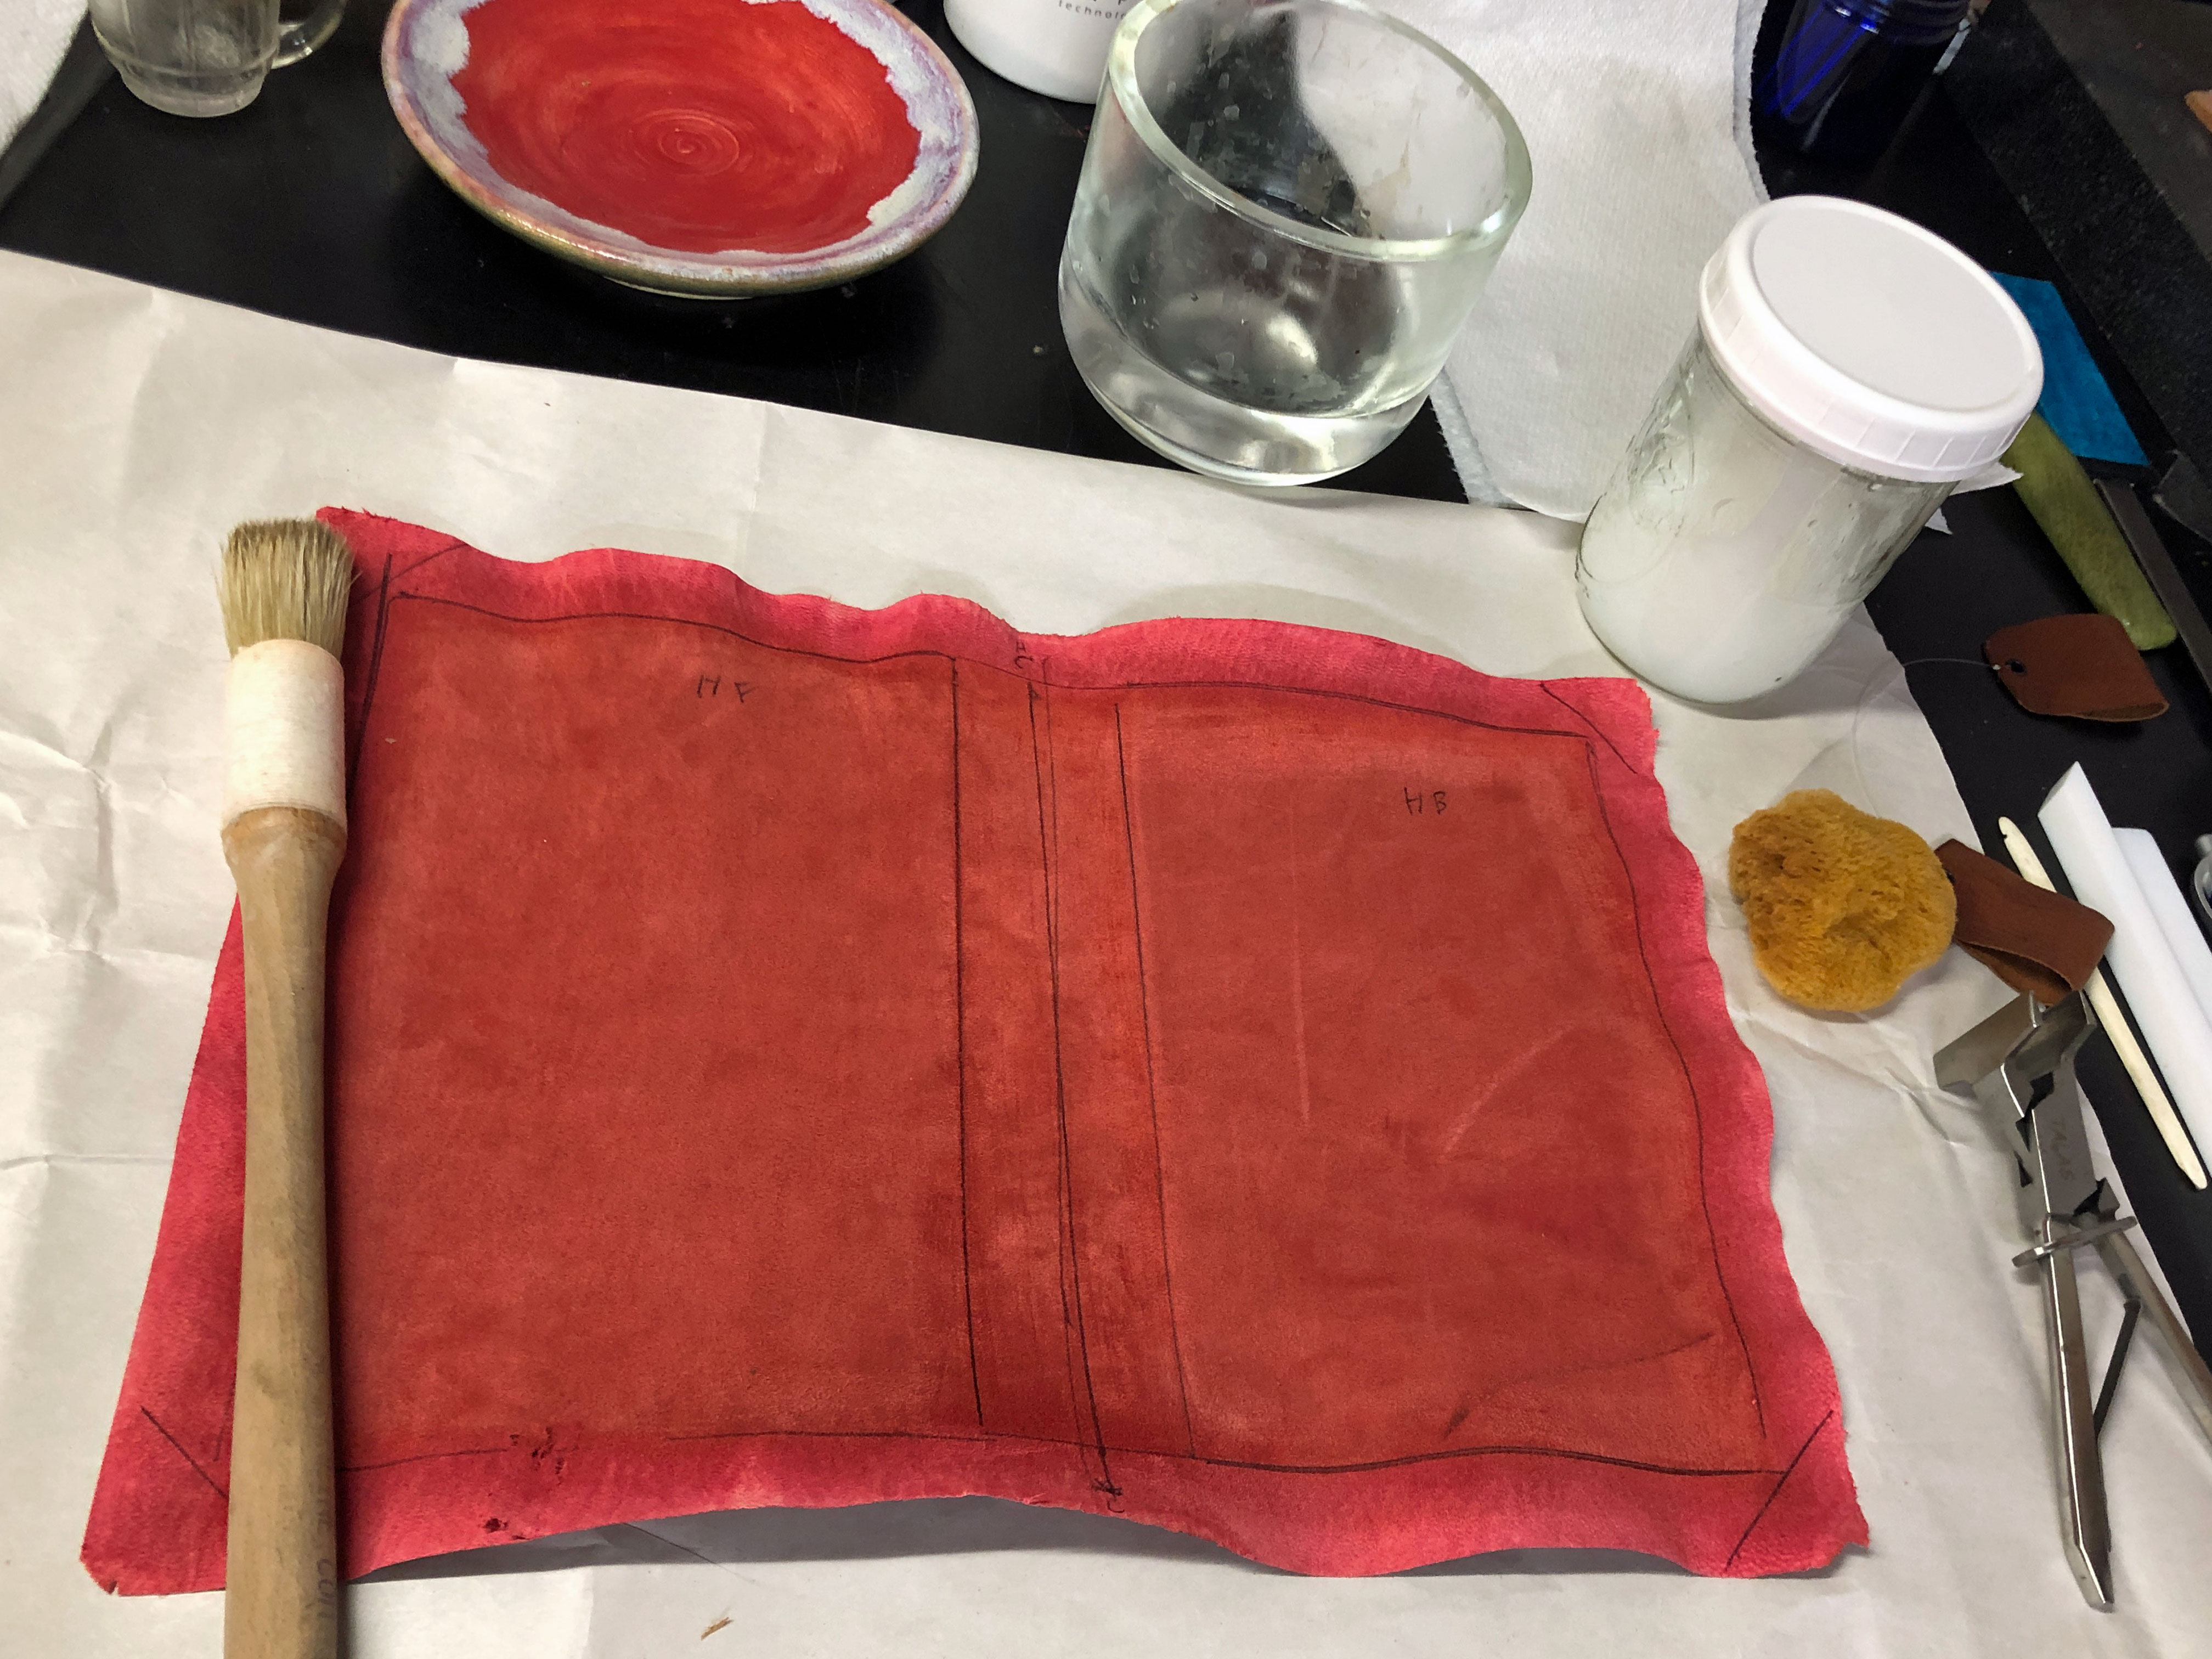
I made a pattern for the leather cover.

Transferred the pattern from the paper to the leather.
![]()
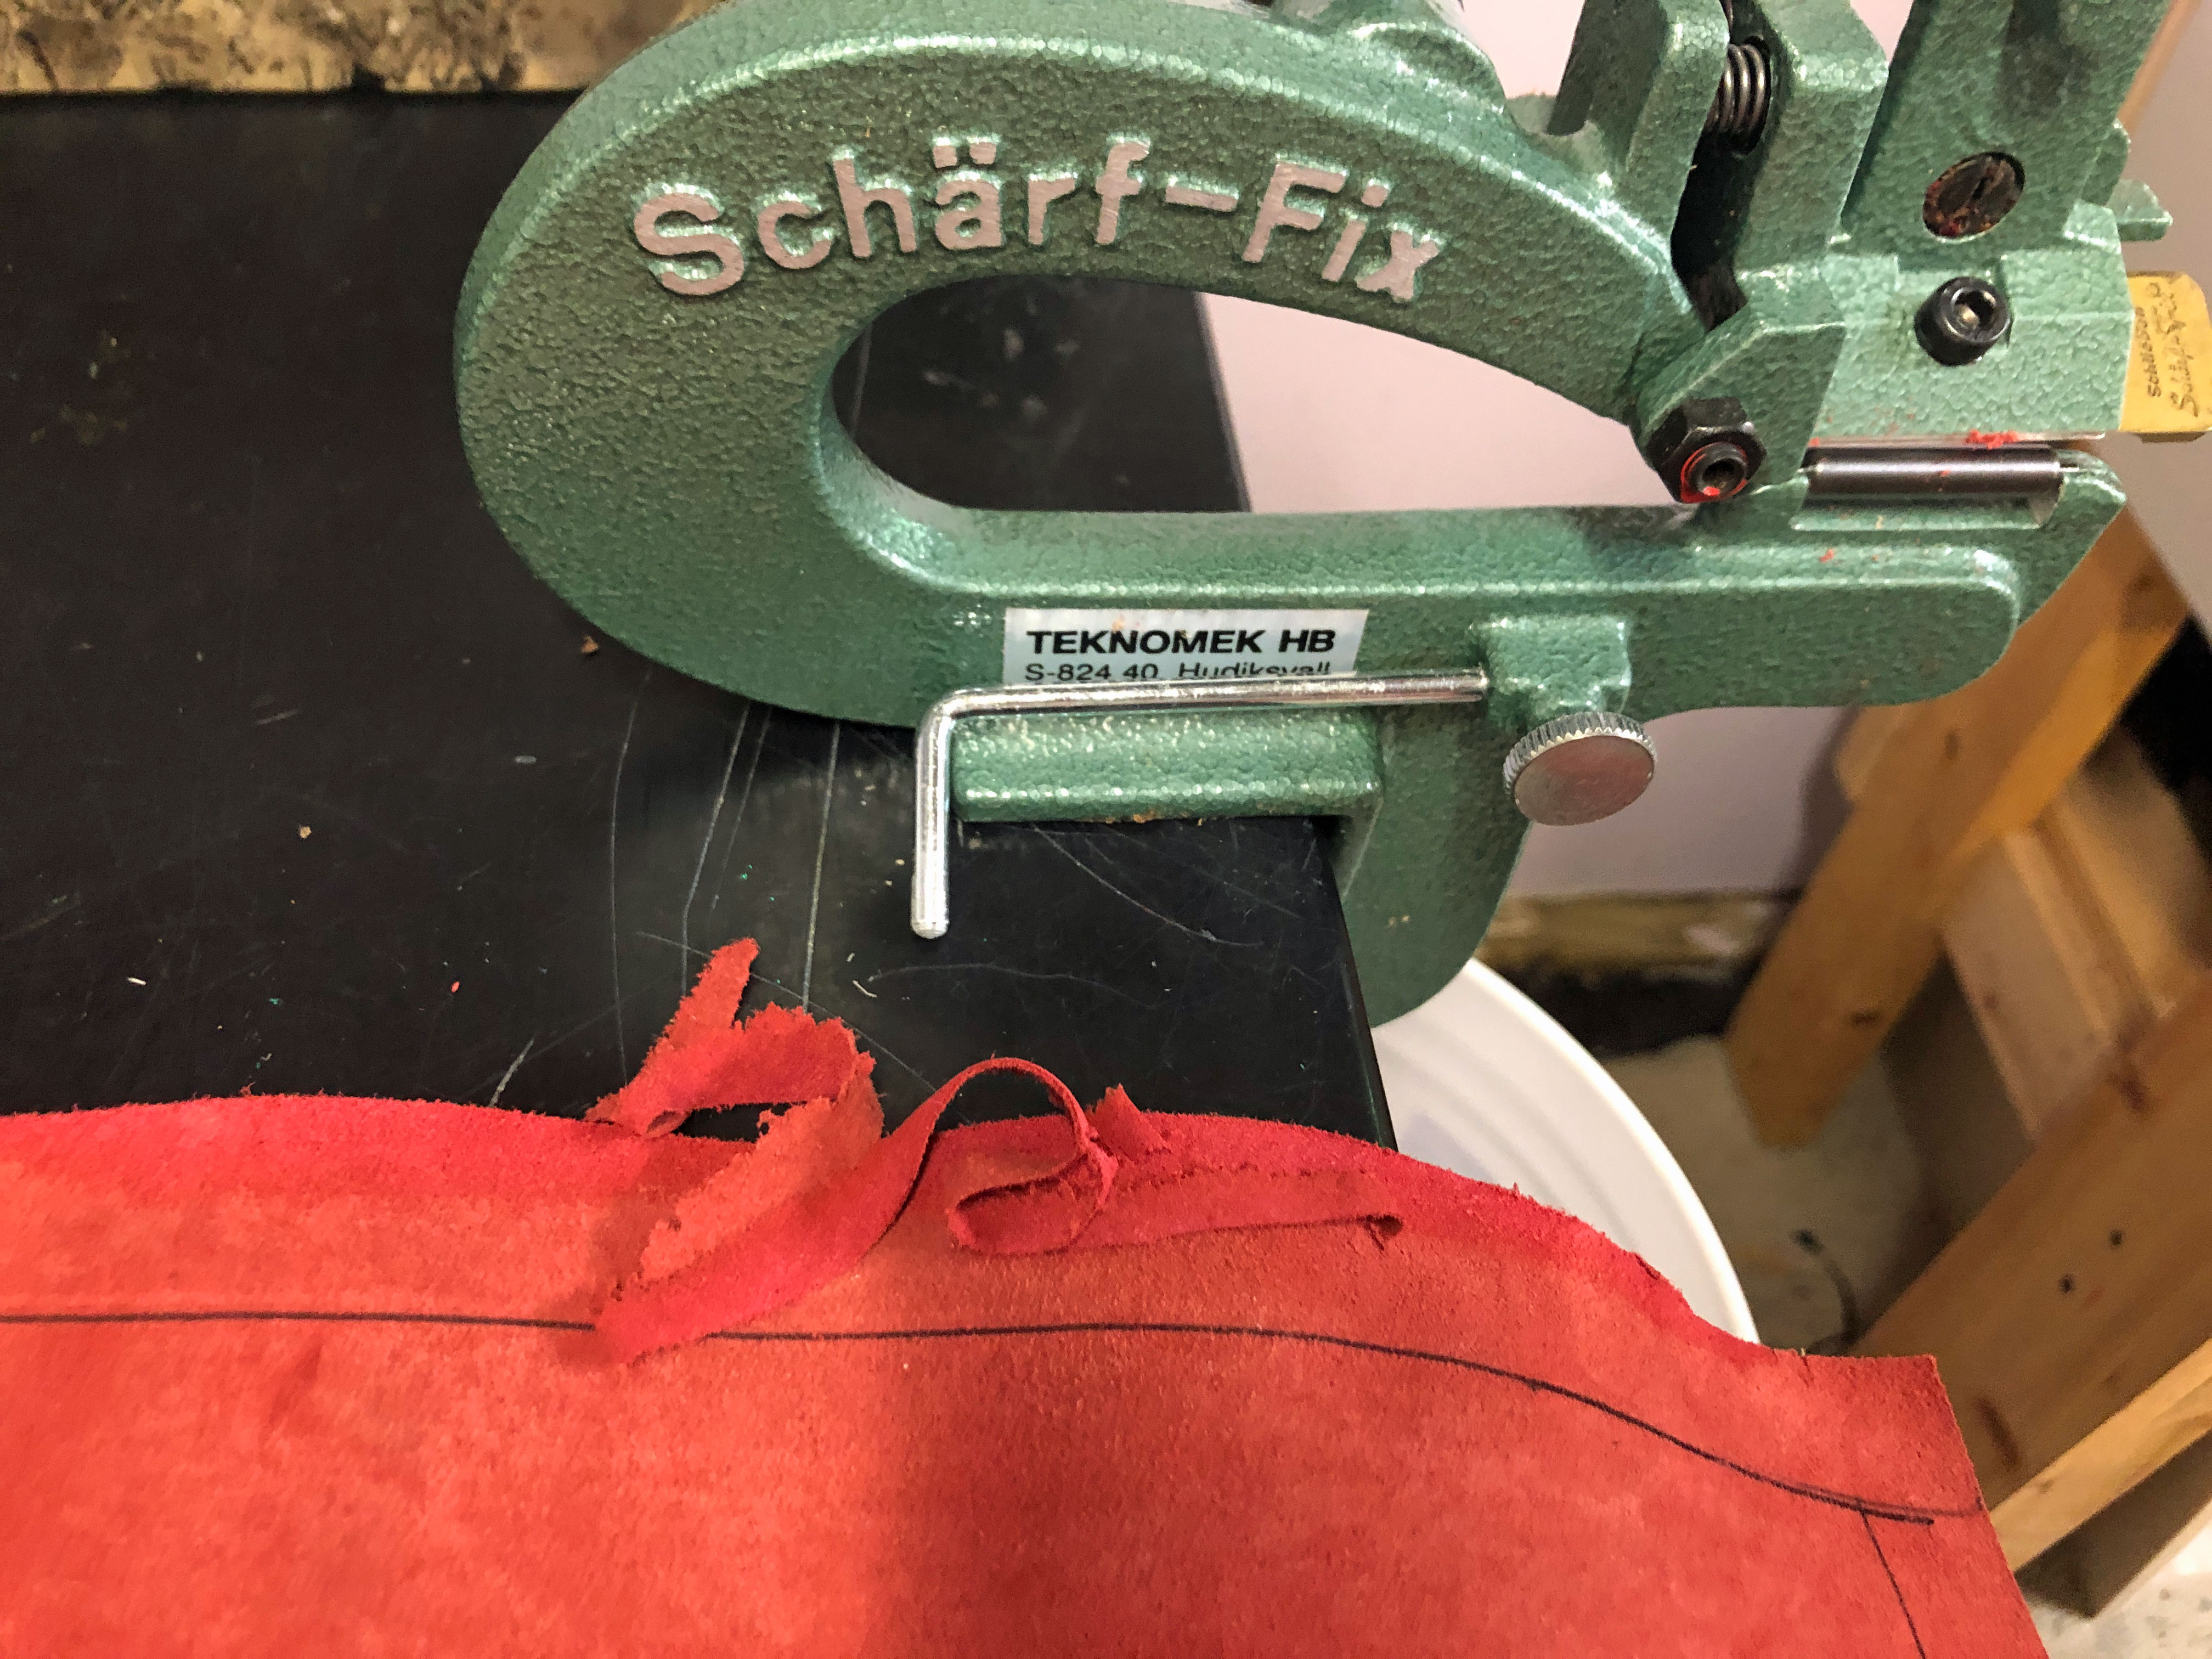
Pared the edges and turn-ins.
Refreshed the pattern after paring.

Assembled all the materials for the cover: leather, spine strip, and new cover boards. I didn’t take pictures of the tedious chamfering of the boards of lining them with paper on both sides.
All ready to go with fresh paste, new scalpel blade, and assorted folders/triangles/straightedges/sponge/water/paste brush/band nippers…
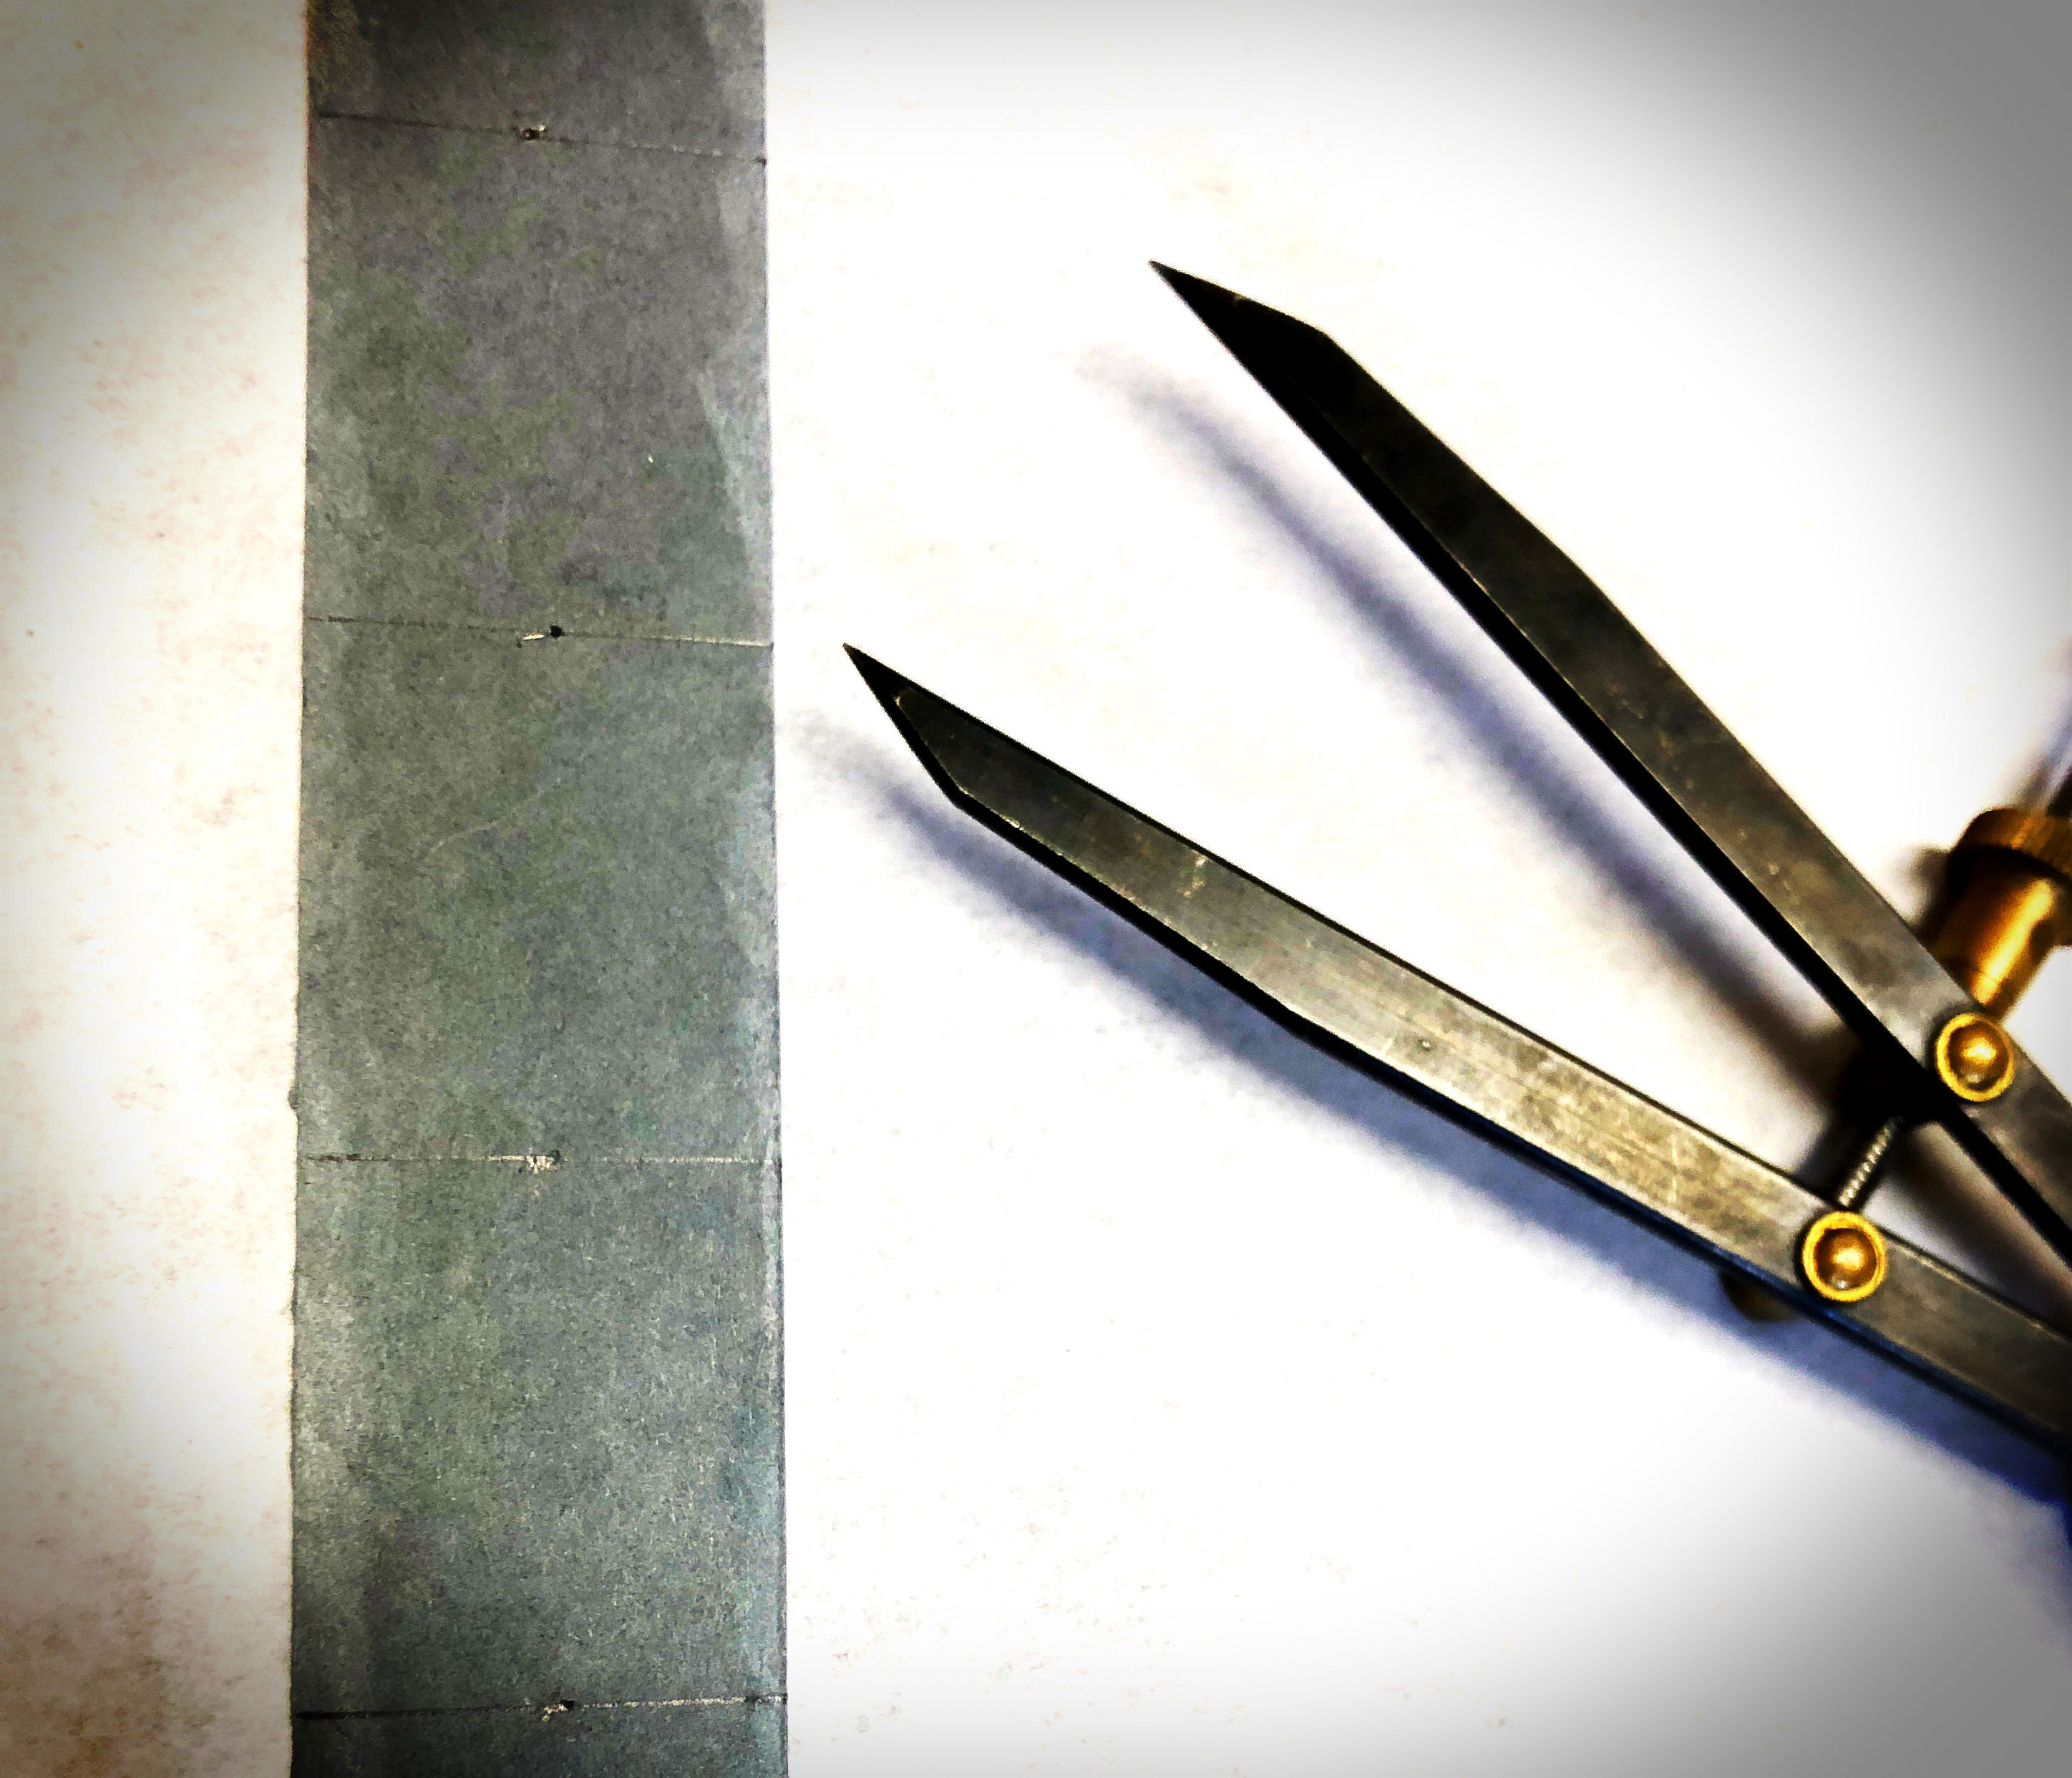
After pasting the leather to the new cover boards and forming it around the raised bands on the spine strip, I let the cover dry on the (plastic-wrapped) text block so that it would have the correct shape. Once it was fully dry, I marked the inside turn-ins and filler card using dividers to make small marks. Cutting through paper and leather at the same time gives an exact fit for the liner card. The liner card is the same thickness as the leather turn-in, so it makes a smooth surface for the decorative paper.
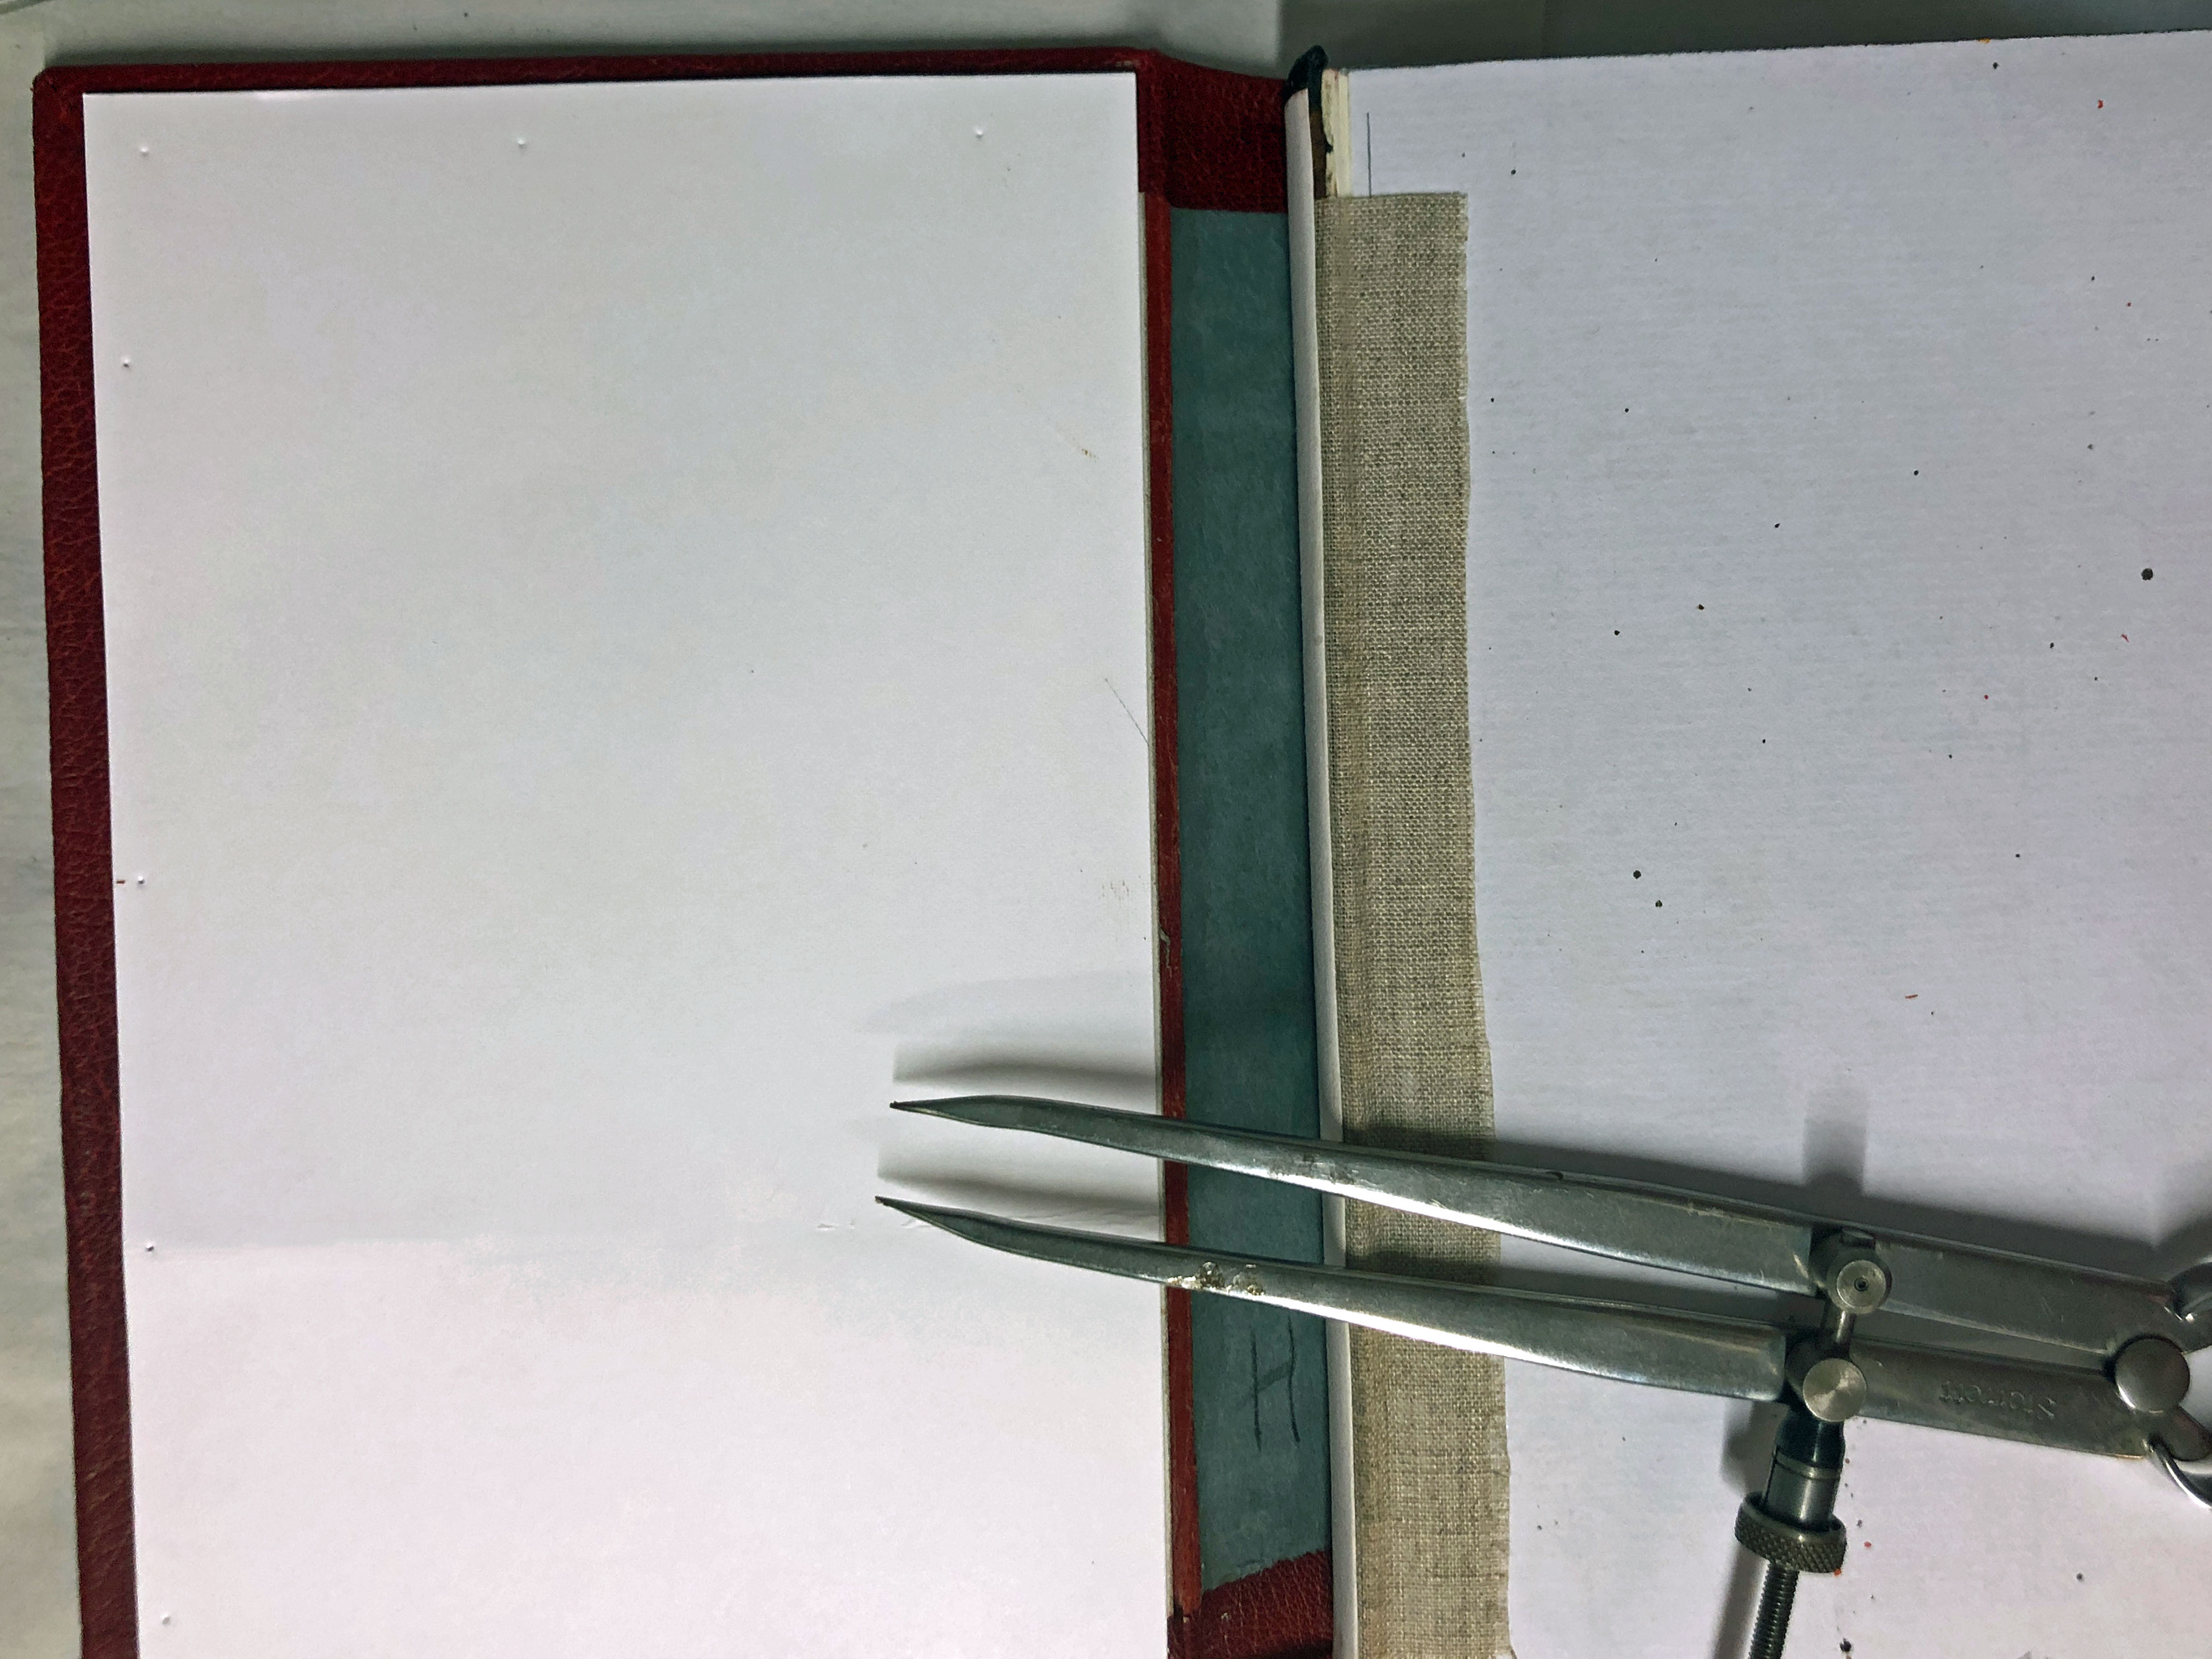
Once everything is dried, I attached the new cover to the book, gluing the spine to the hollow and attaching the linen strips to the inside covers. I trimmed them back close to the inside edges of the covers so they wouldn’t make a big lump under the pastedowns. Once that was all dry I pasted down the inside pastedowns, trimmed the new endsheets as needed, and finished the flexi-fold endsheets.
I thought a long time about decorating the cover, but none of my efforts were satisfactory. I had printed the spine text using genuine gold foil on the Kwik-Print before attaching the cover. Finally I made an inlay to look like the door at Bag End. I used a bone folder to create boards and wood grain on green leather, then set that into a piece of fair calf, then applied very thin bits of brown leather on top of that for the brickwork/stonework that surrounds the door. Colored the leather to bring out the “woodgrain” and to give the stones some shading, then inlaid that into the cover. Ask me if it’s nerve-wracking to cut a big hole in a perfectly good leather cover. OK, since you asked … it is.
Here’s the final book.

Detail of inlay.

View of top edge showing leather endband and colors spattered over a graphite base color.

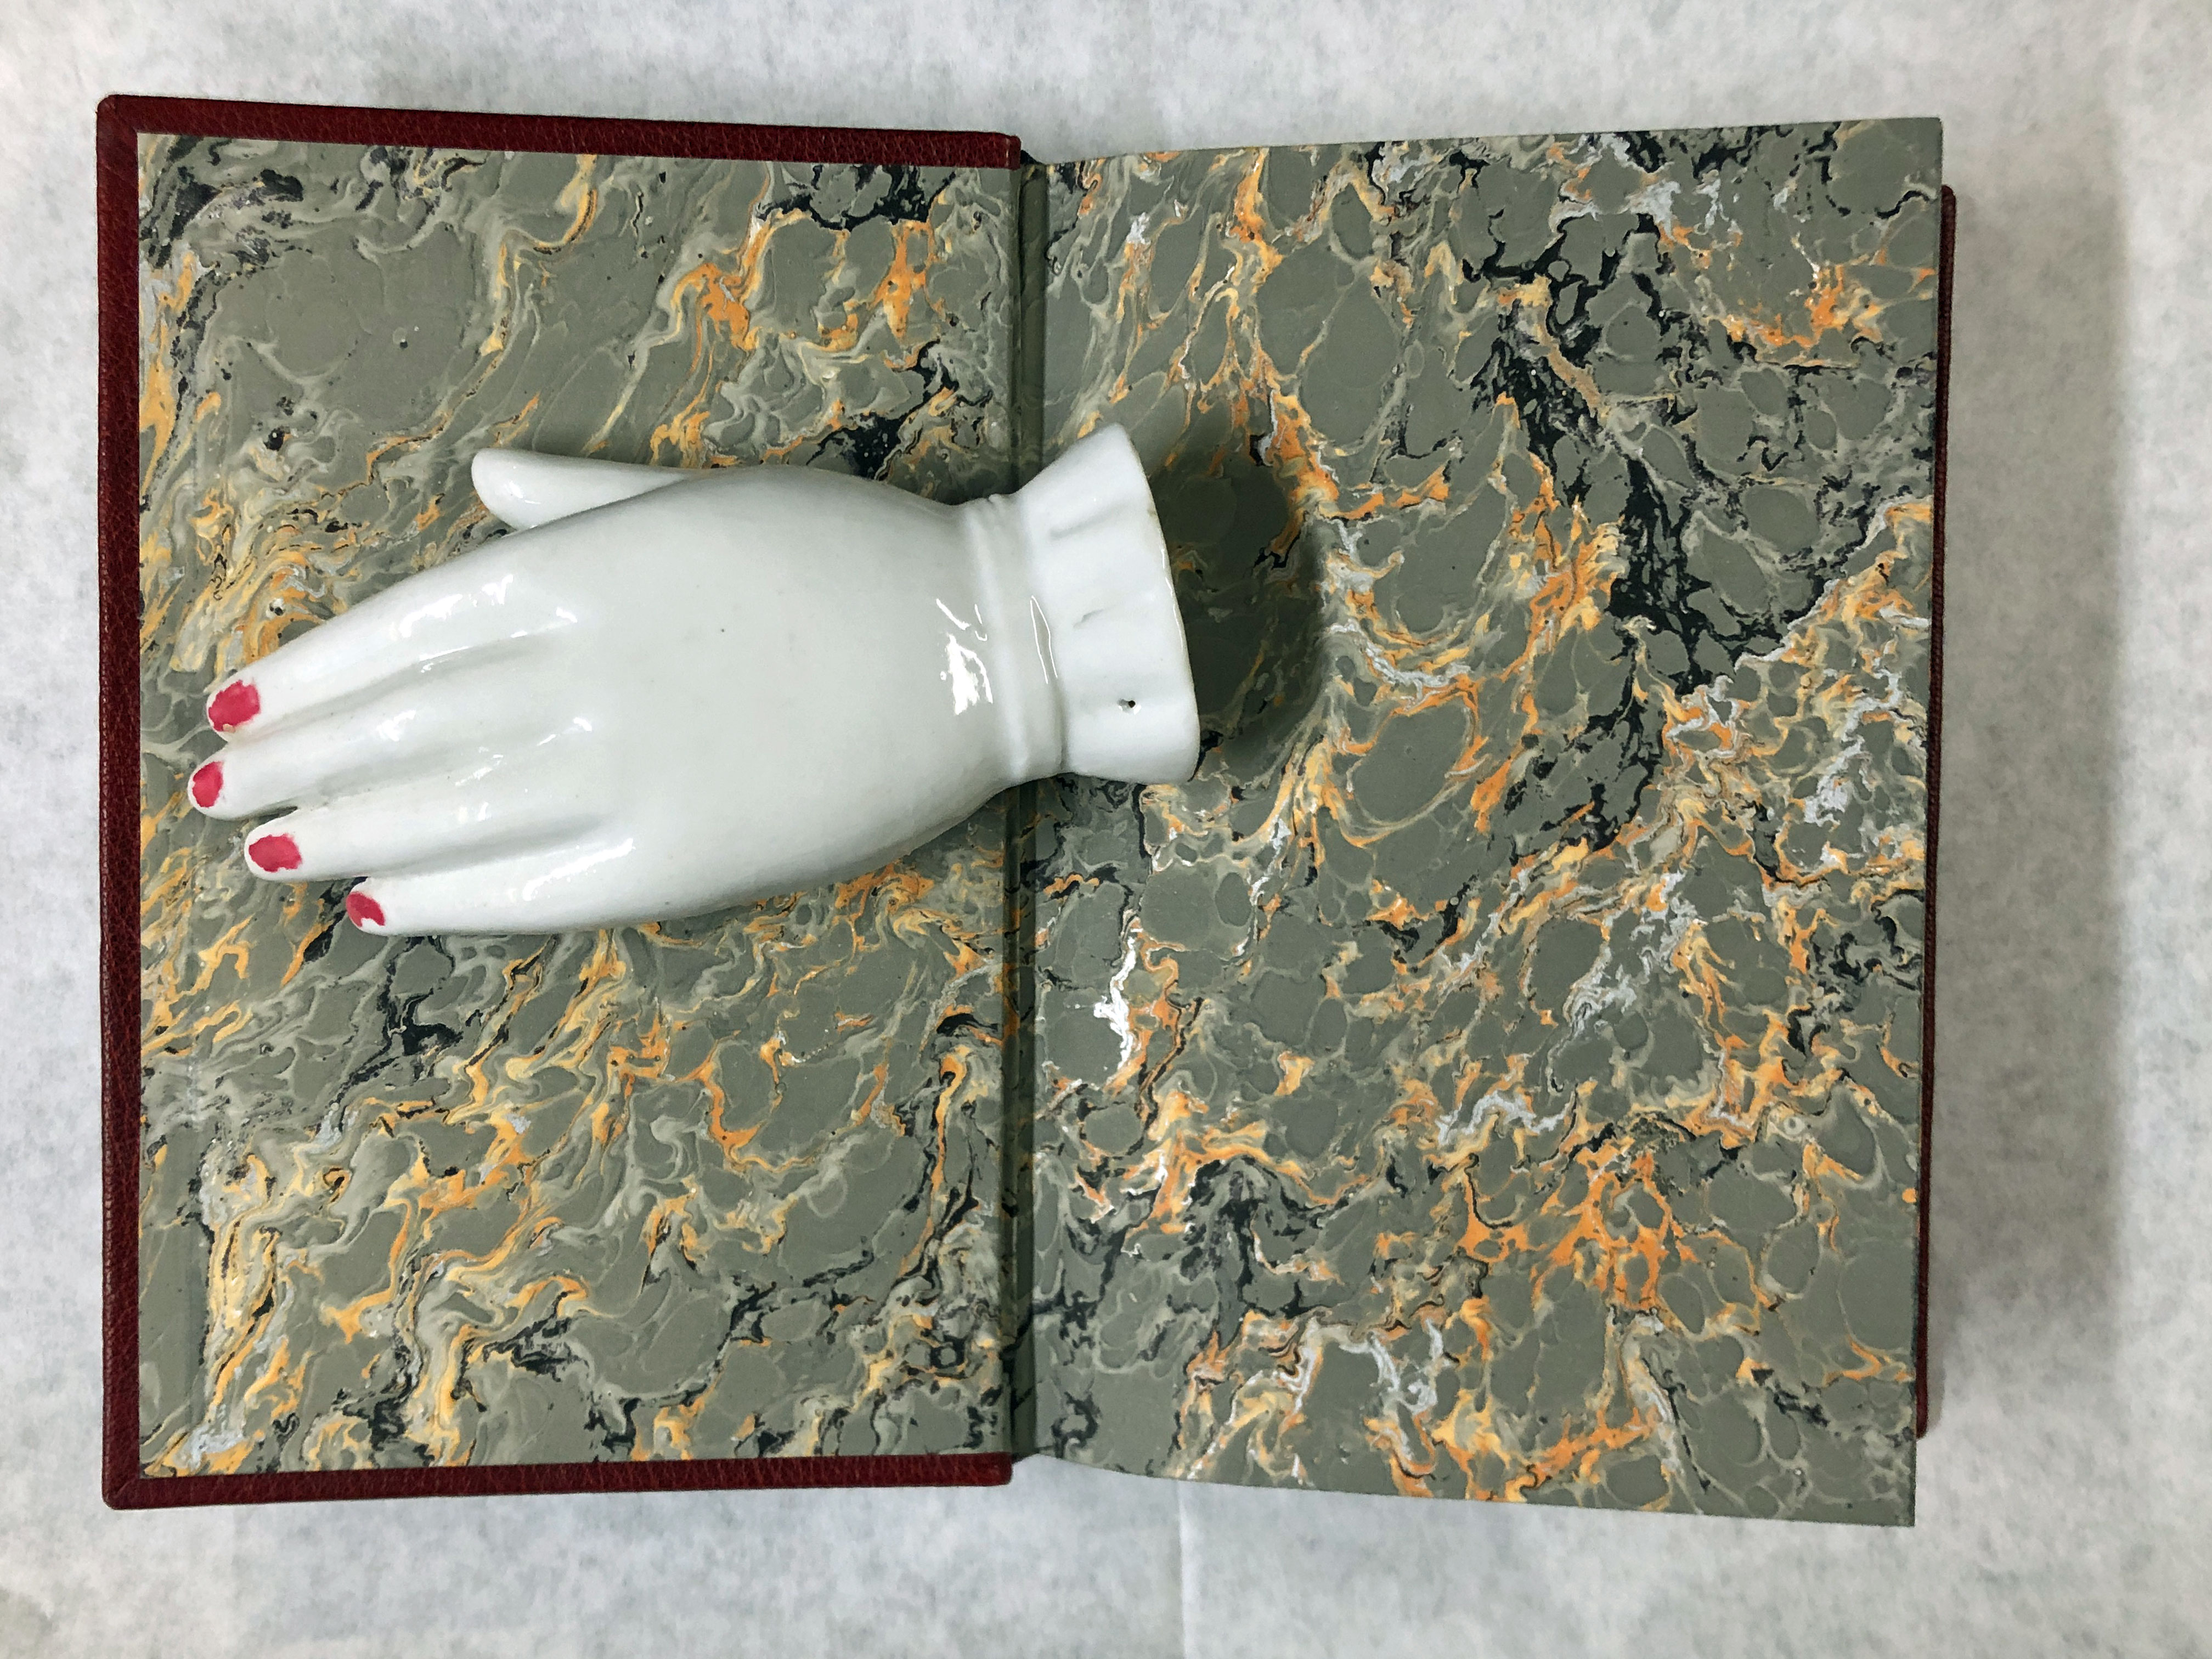
Here is the inside cover…
Small title page.

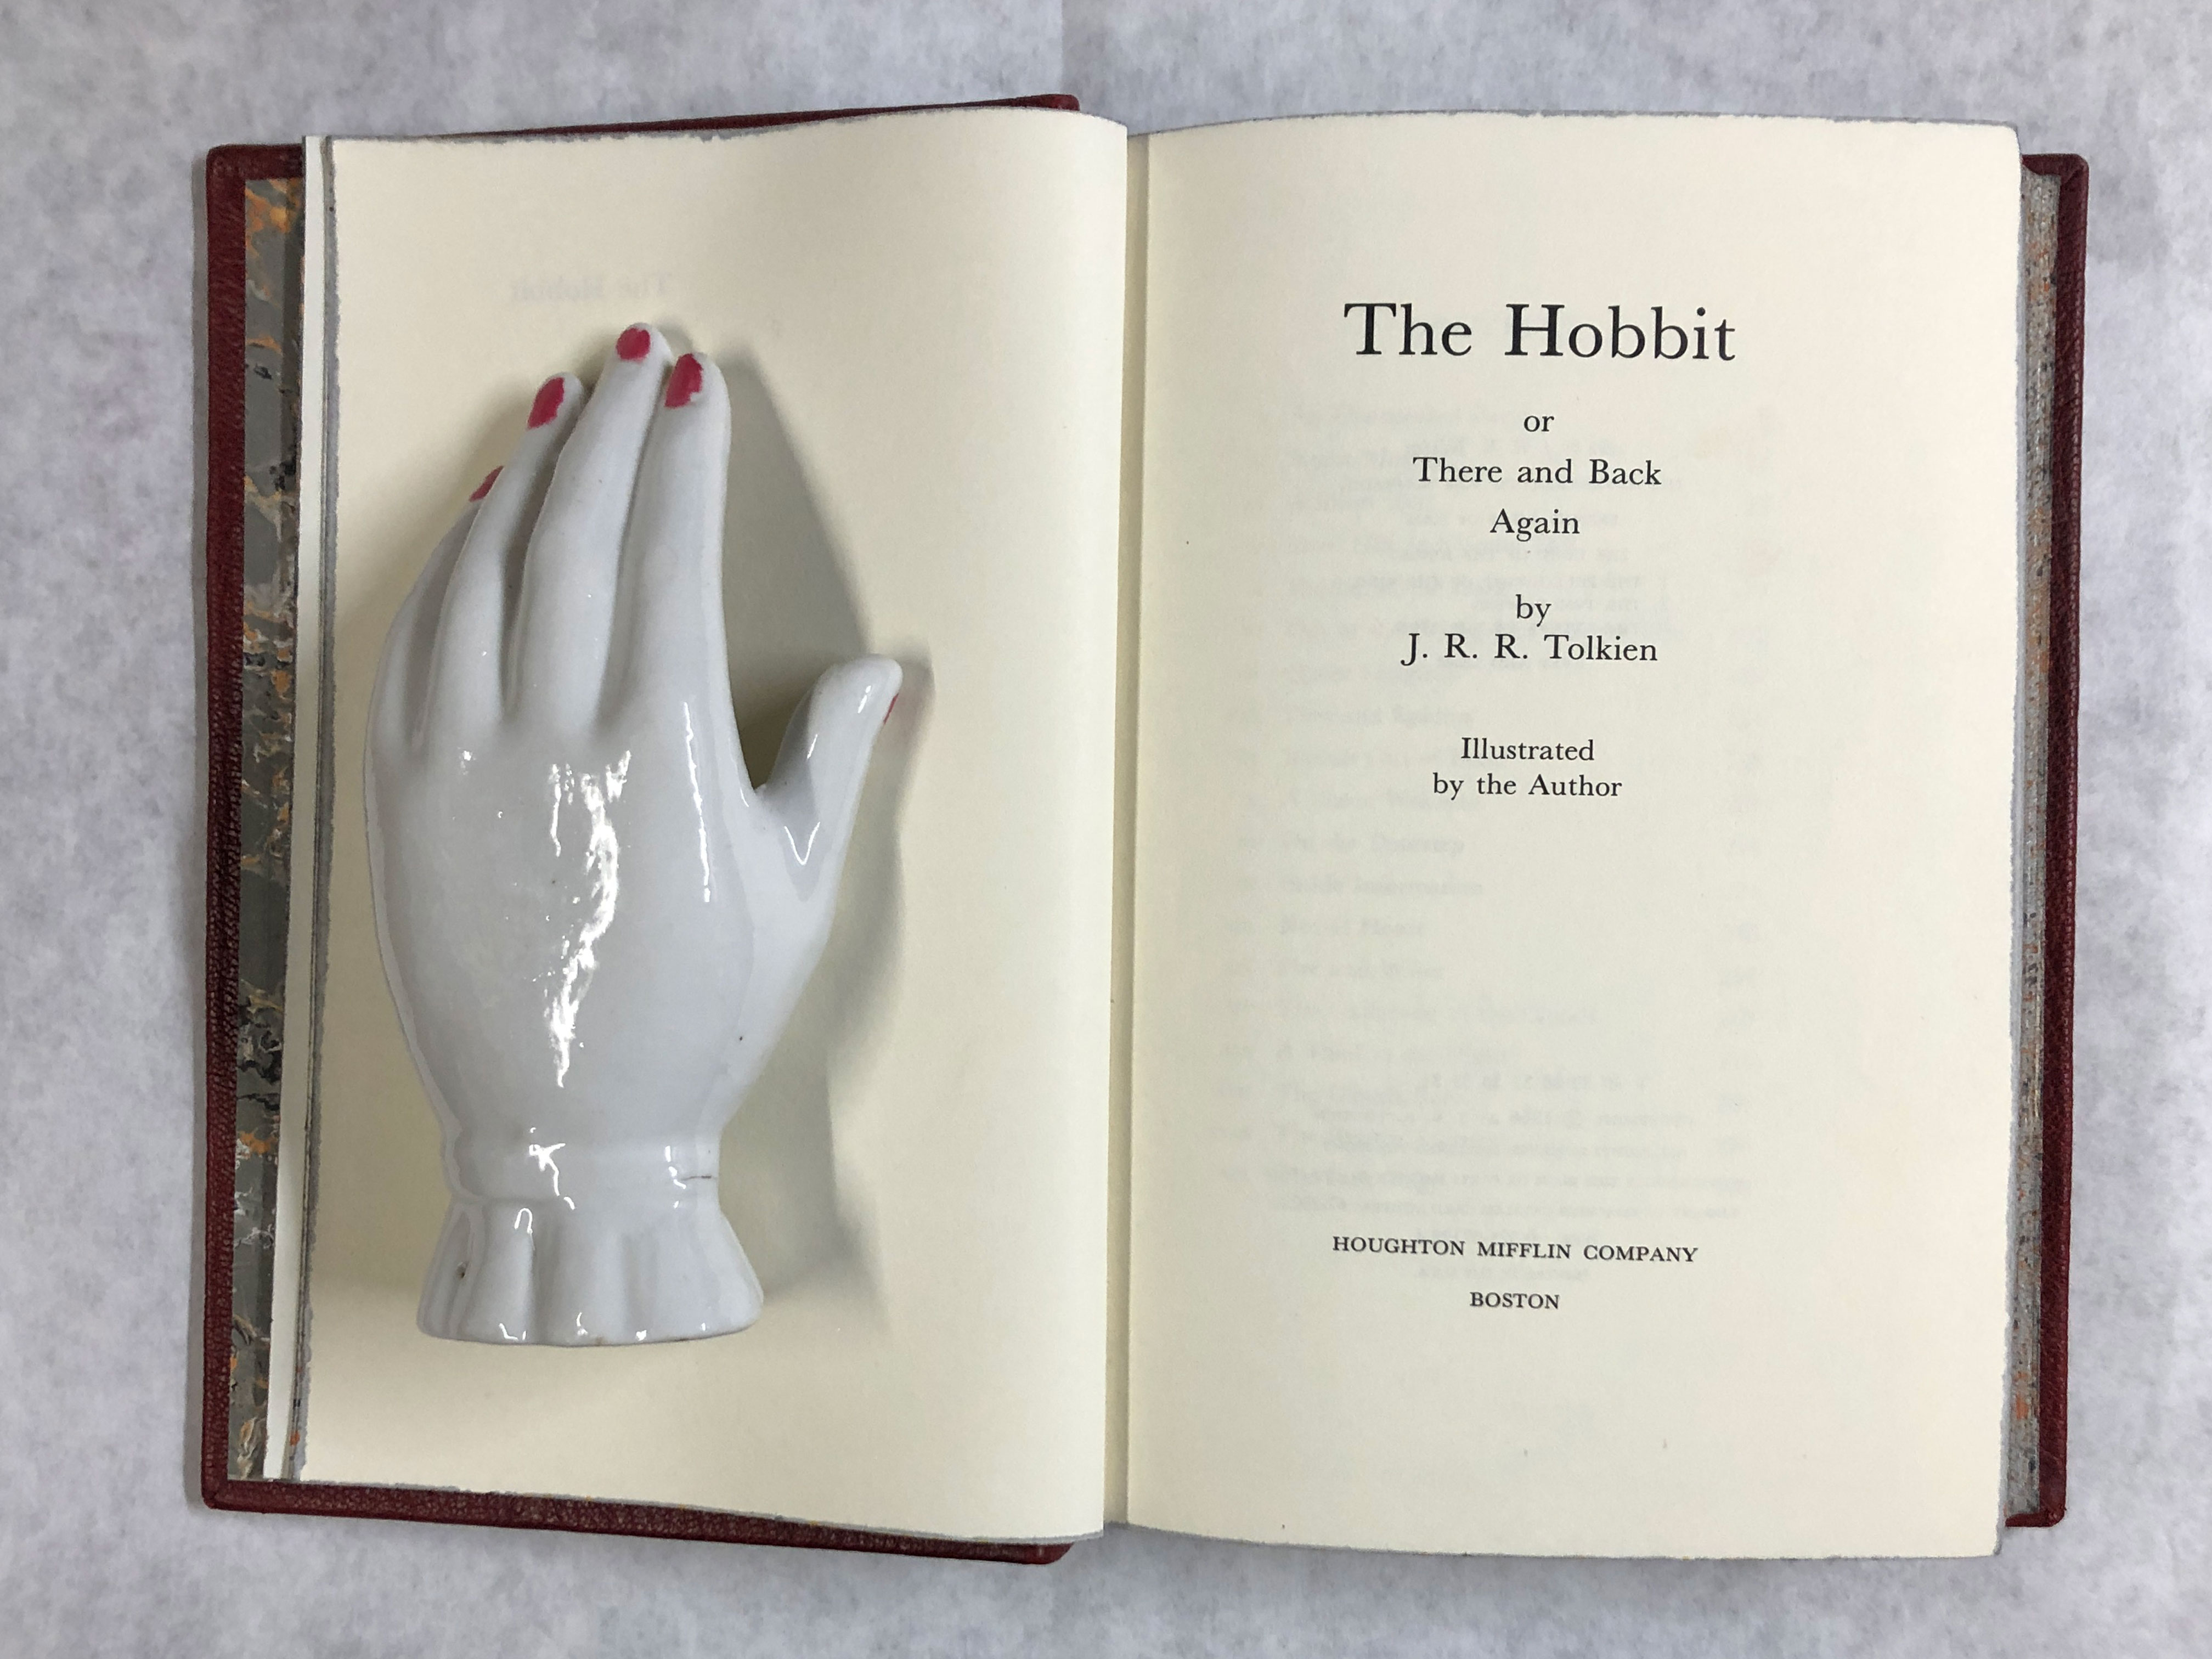
Title page.
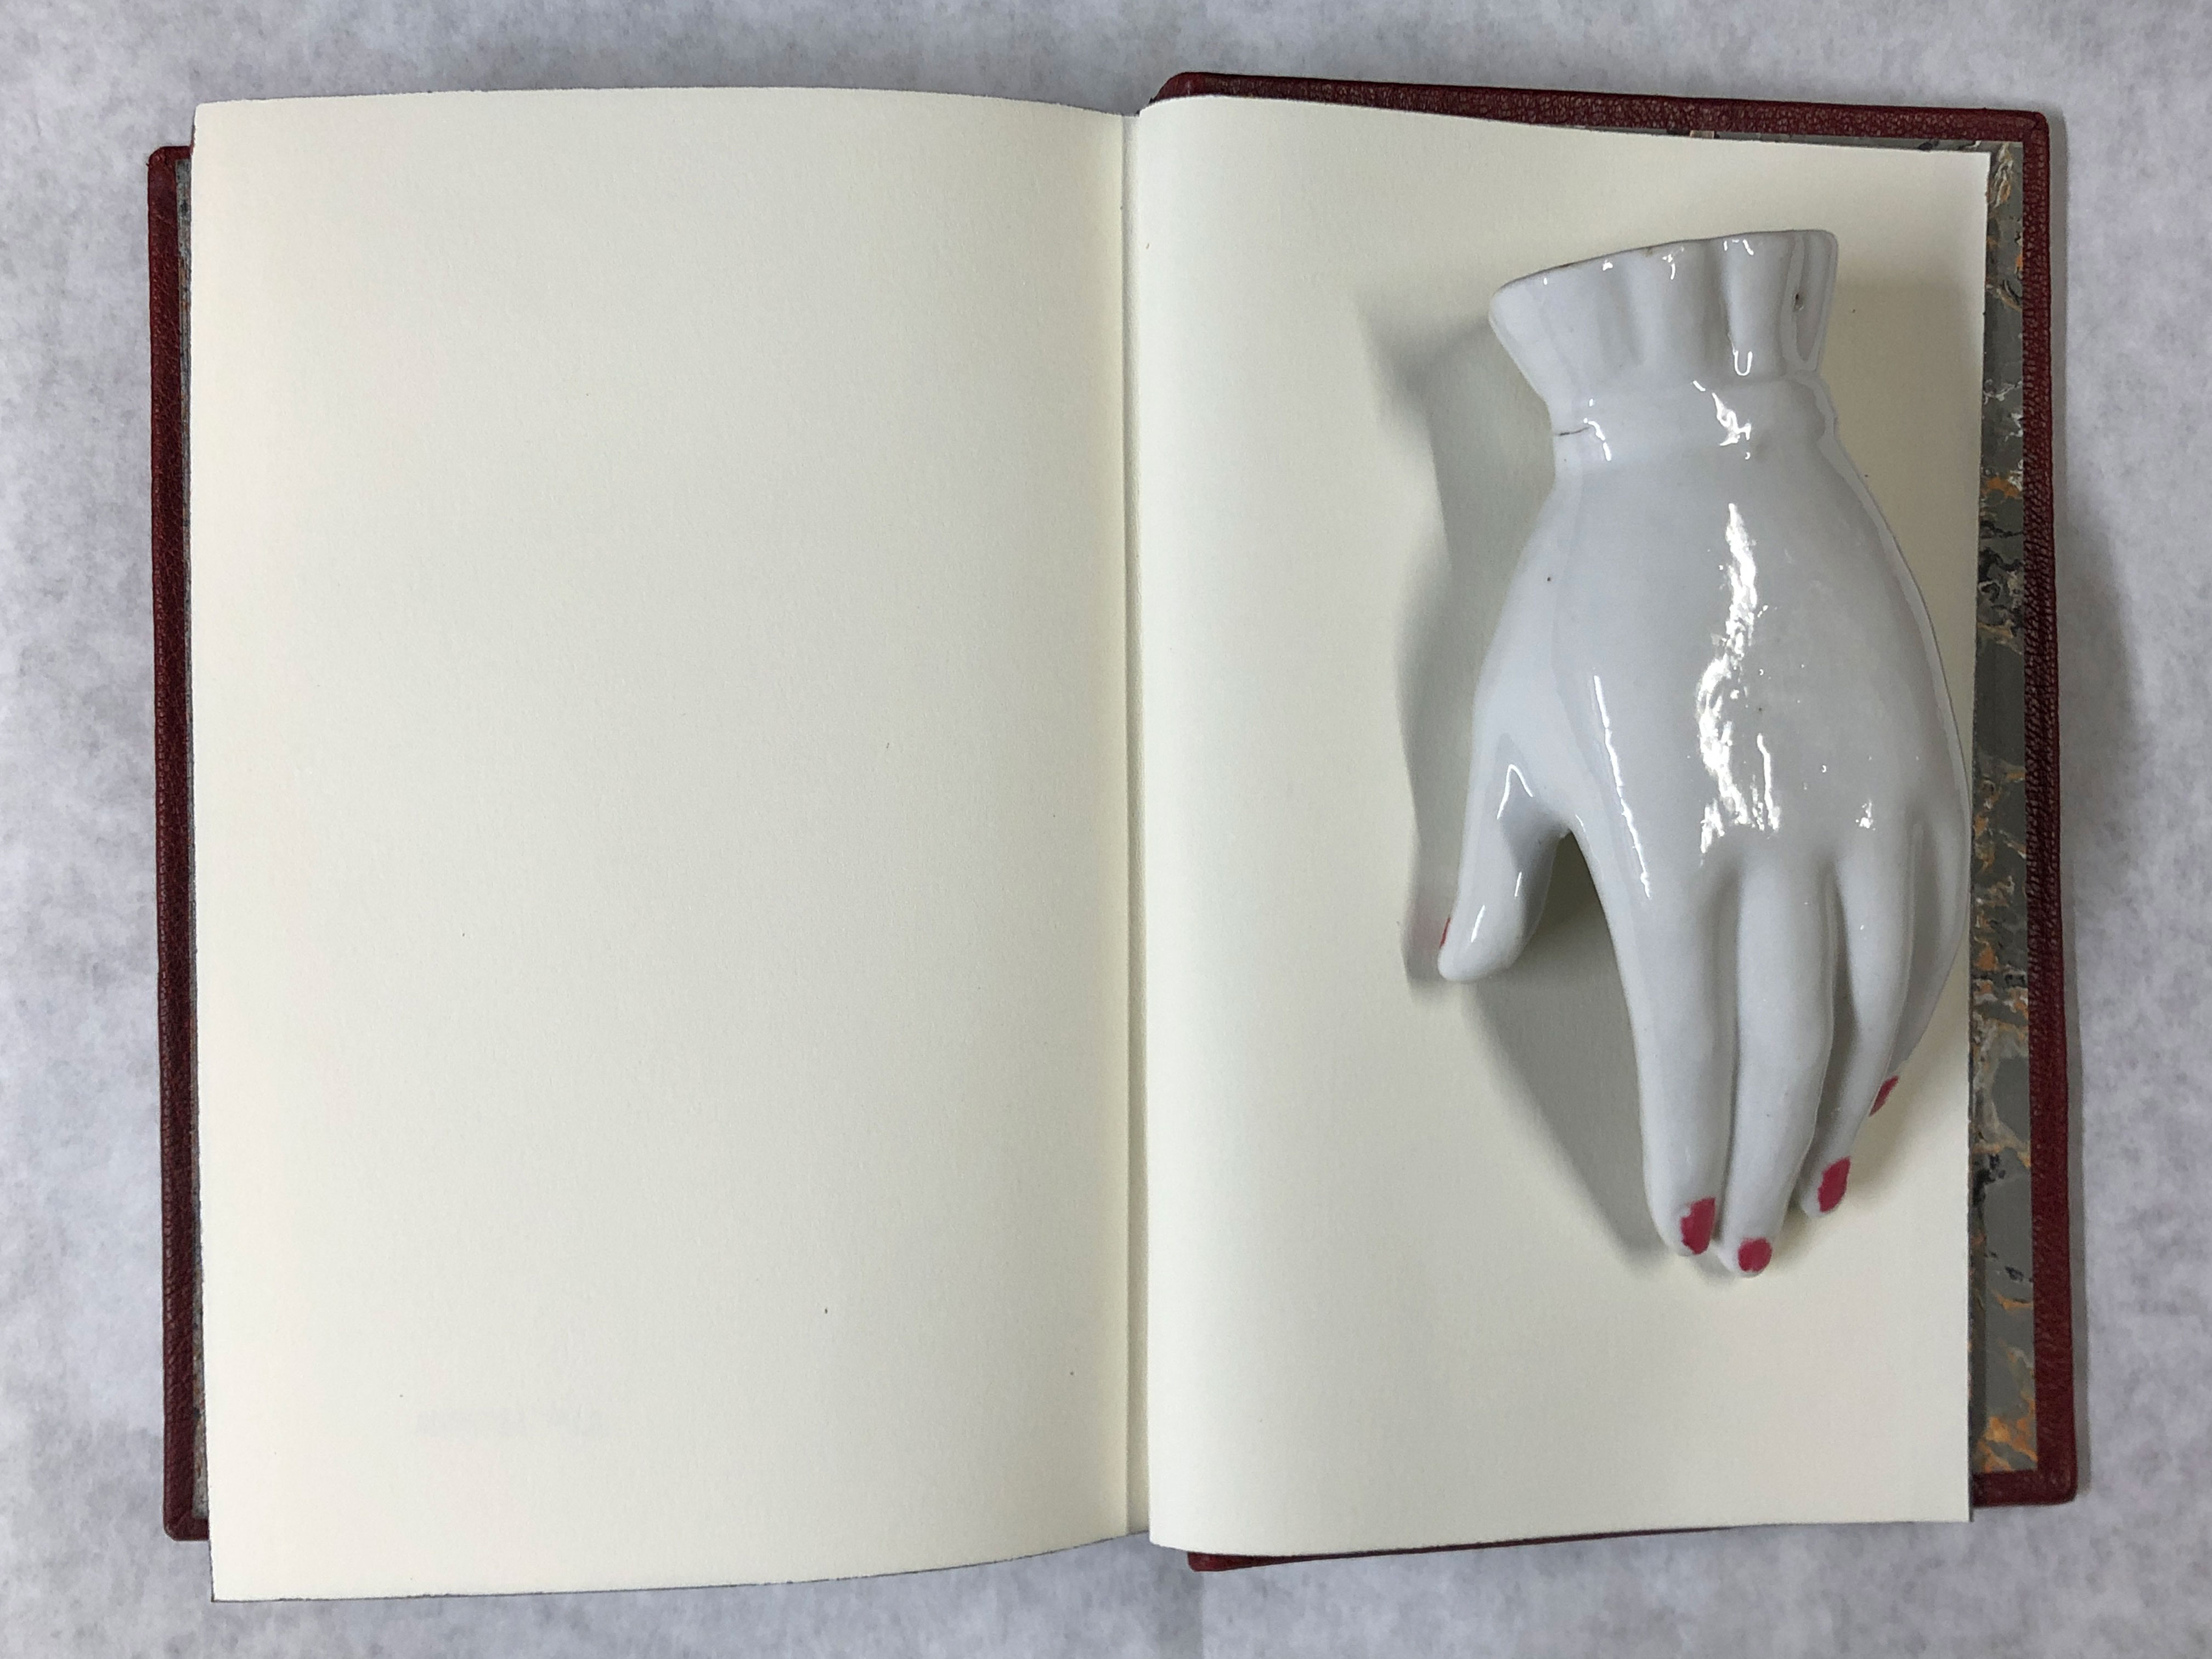
Back endsheet.
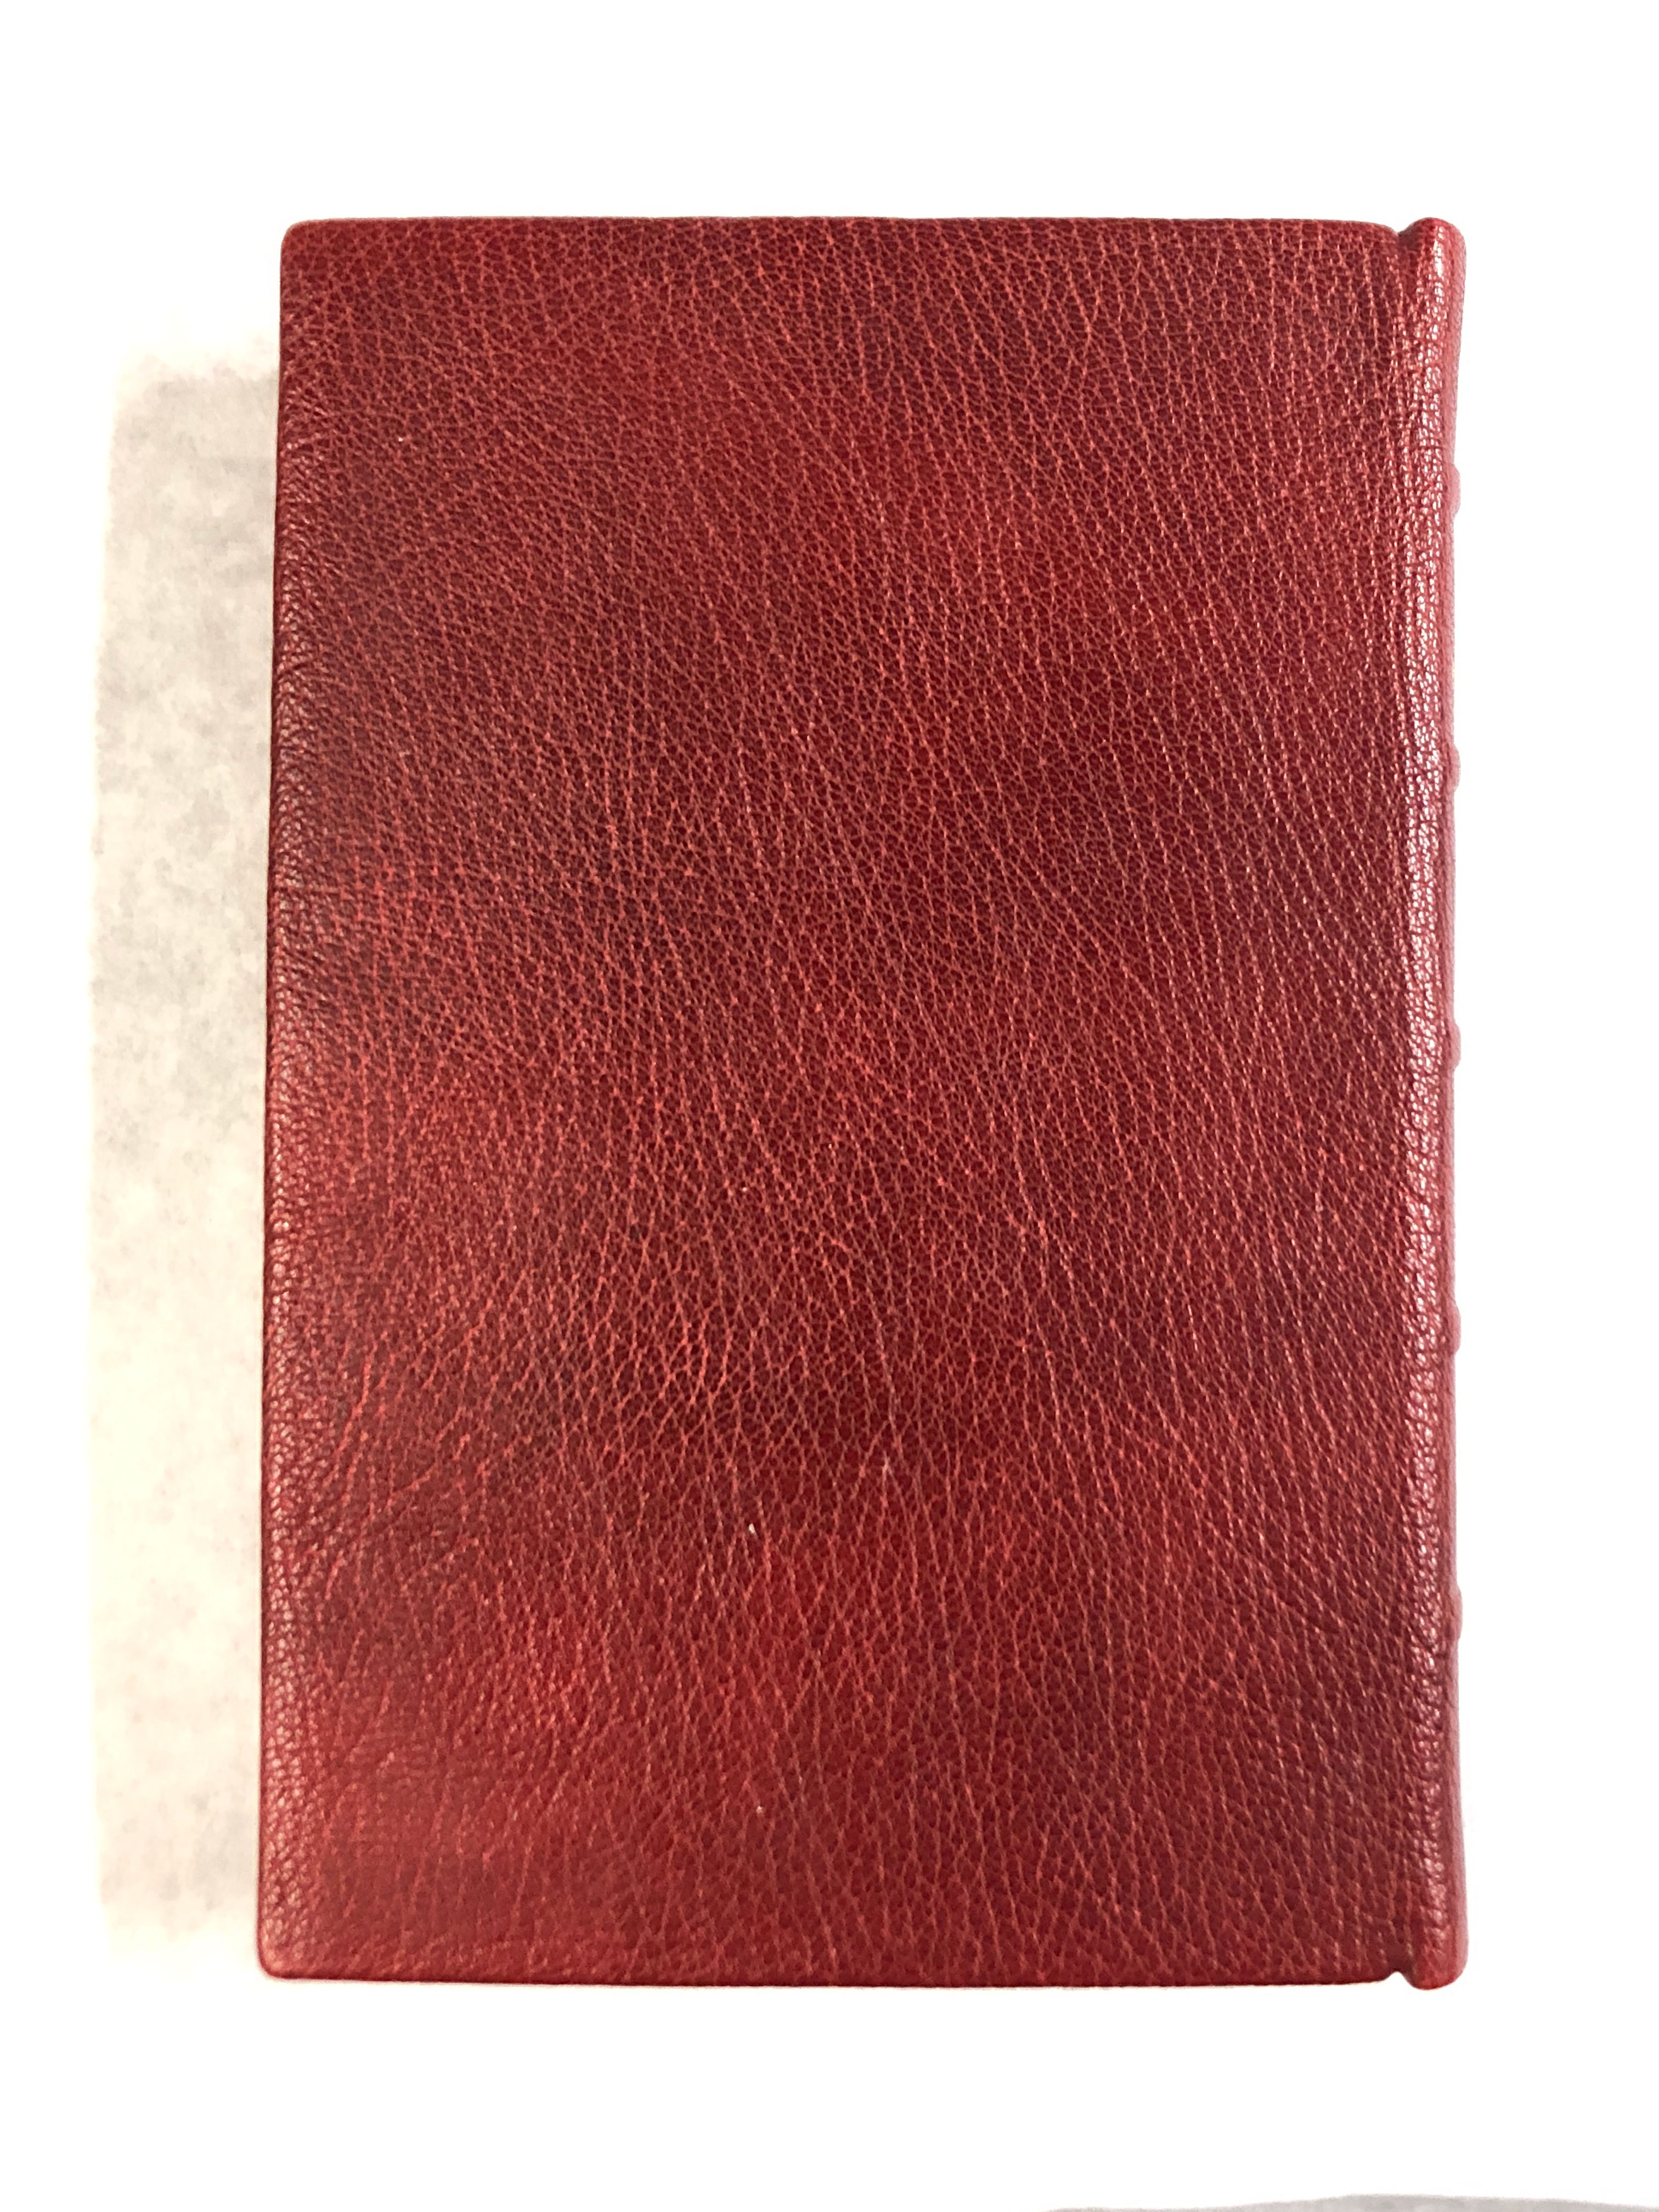
And outside back cover.
The leather’s not actually that mottled … I had shadows on the photo. I gave the book some final primping, trimming, protective leather treatment, and sent it off in the mail.
This was a fun project and just what I needed to get back into design binding. I wonder what will be next….
