After the modifications to my Force, I had no more trouble aligning materials for stamping. Stamping multiple lines of text was still a giant headache, though. My KP has a table than can be moved forward and back to permit multi-line titles, but there is no way to easily get the proper spacing. I tried inserting spacers between the back edge of the table and the iron upright post holding the printing head. I tried using a ruler to move the table out. But the upright iron is curved and uneven, and I hated the process. For years I’ve stared at that machine wondering what to do.
So yesterday I wandered back out to the Stash, put on my vinyl gloves, and dug out some likely candidates. I came back in with a couple of aluminum plates, some right angle brackets, a nice metal rod with two bearings, and a bracket from some old piece of electronic equipment. My idea was to attach something to the Kwik-Print base that would project out alongside the table and give me a fixed point of reference, but I couldn’t figure it out. The K-P base was just too rough and irregular and whatever I put on it would be in the way. Then, eureka!
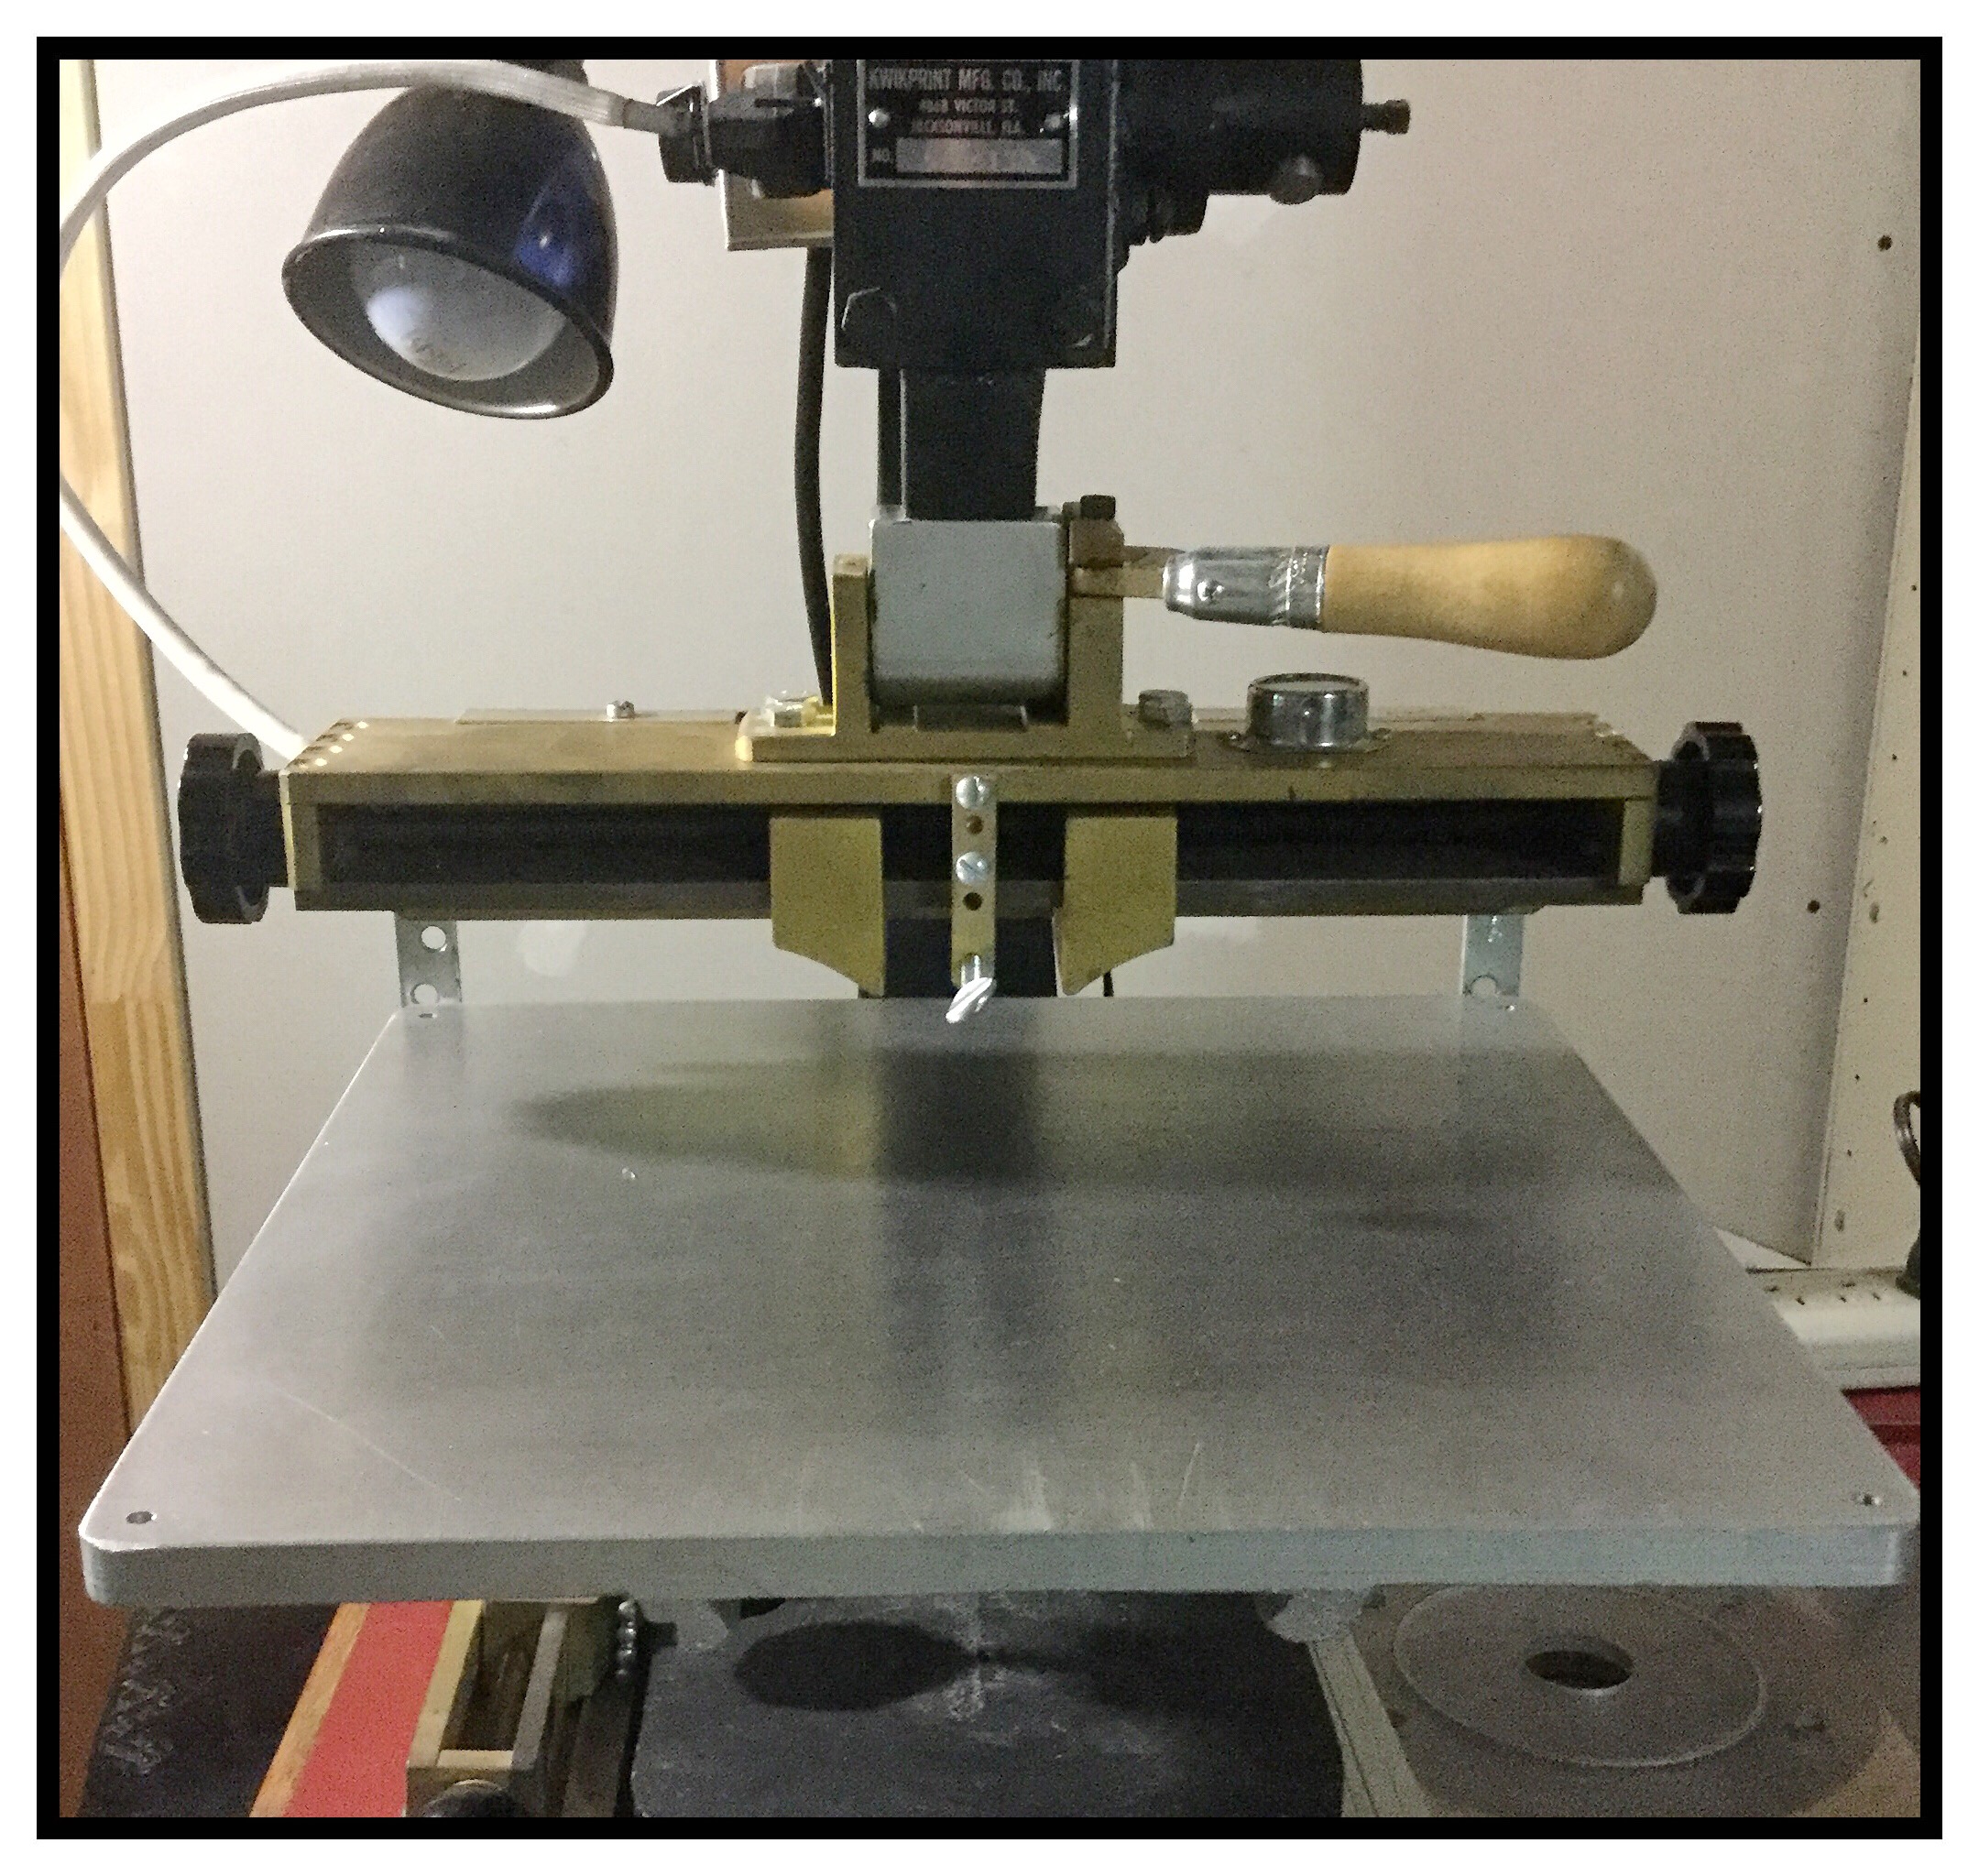
I glued the short wide part of my right angle bracket to the underside of the table. The long arm of the bracket stuck straight down, almost touching the cast iron base. There was just enough room for a metal rule between the end of this bracket and the base. I clamped it up and let it set overnight. The arm wasn’t dead vertical, but I figured this wouldn’t matter as long as I was consistent.
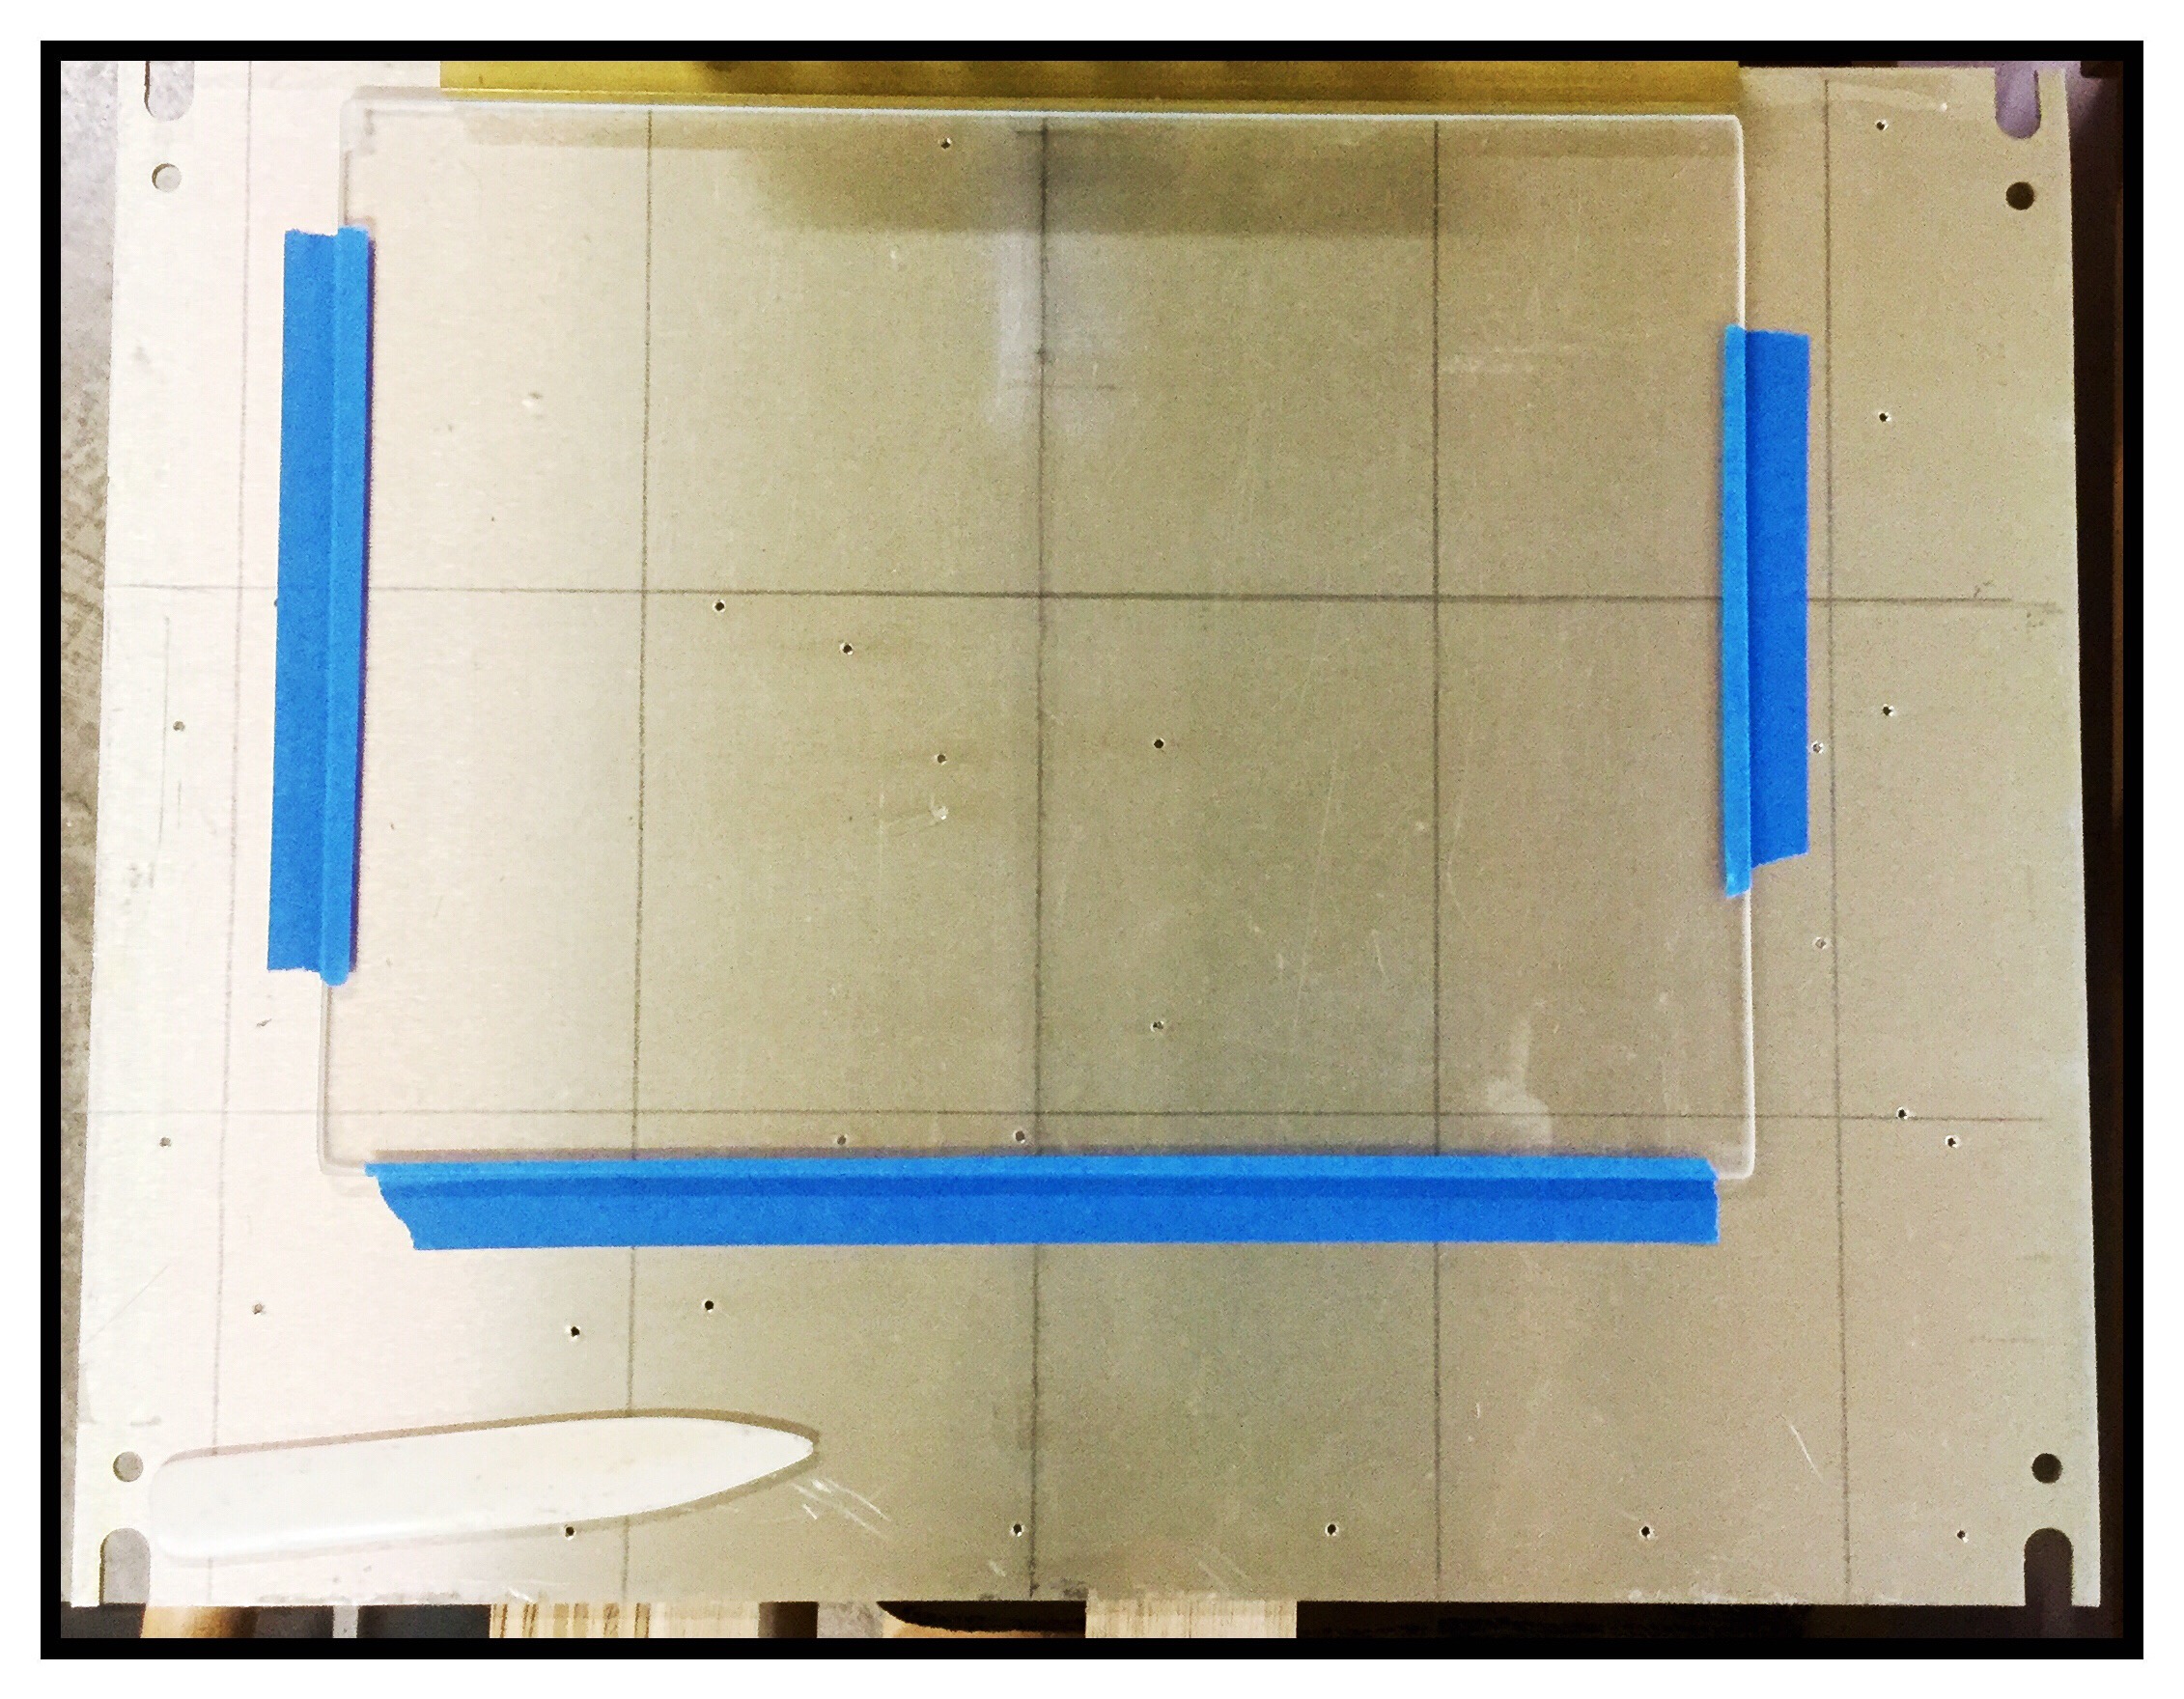
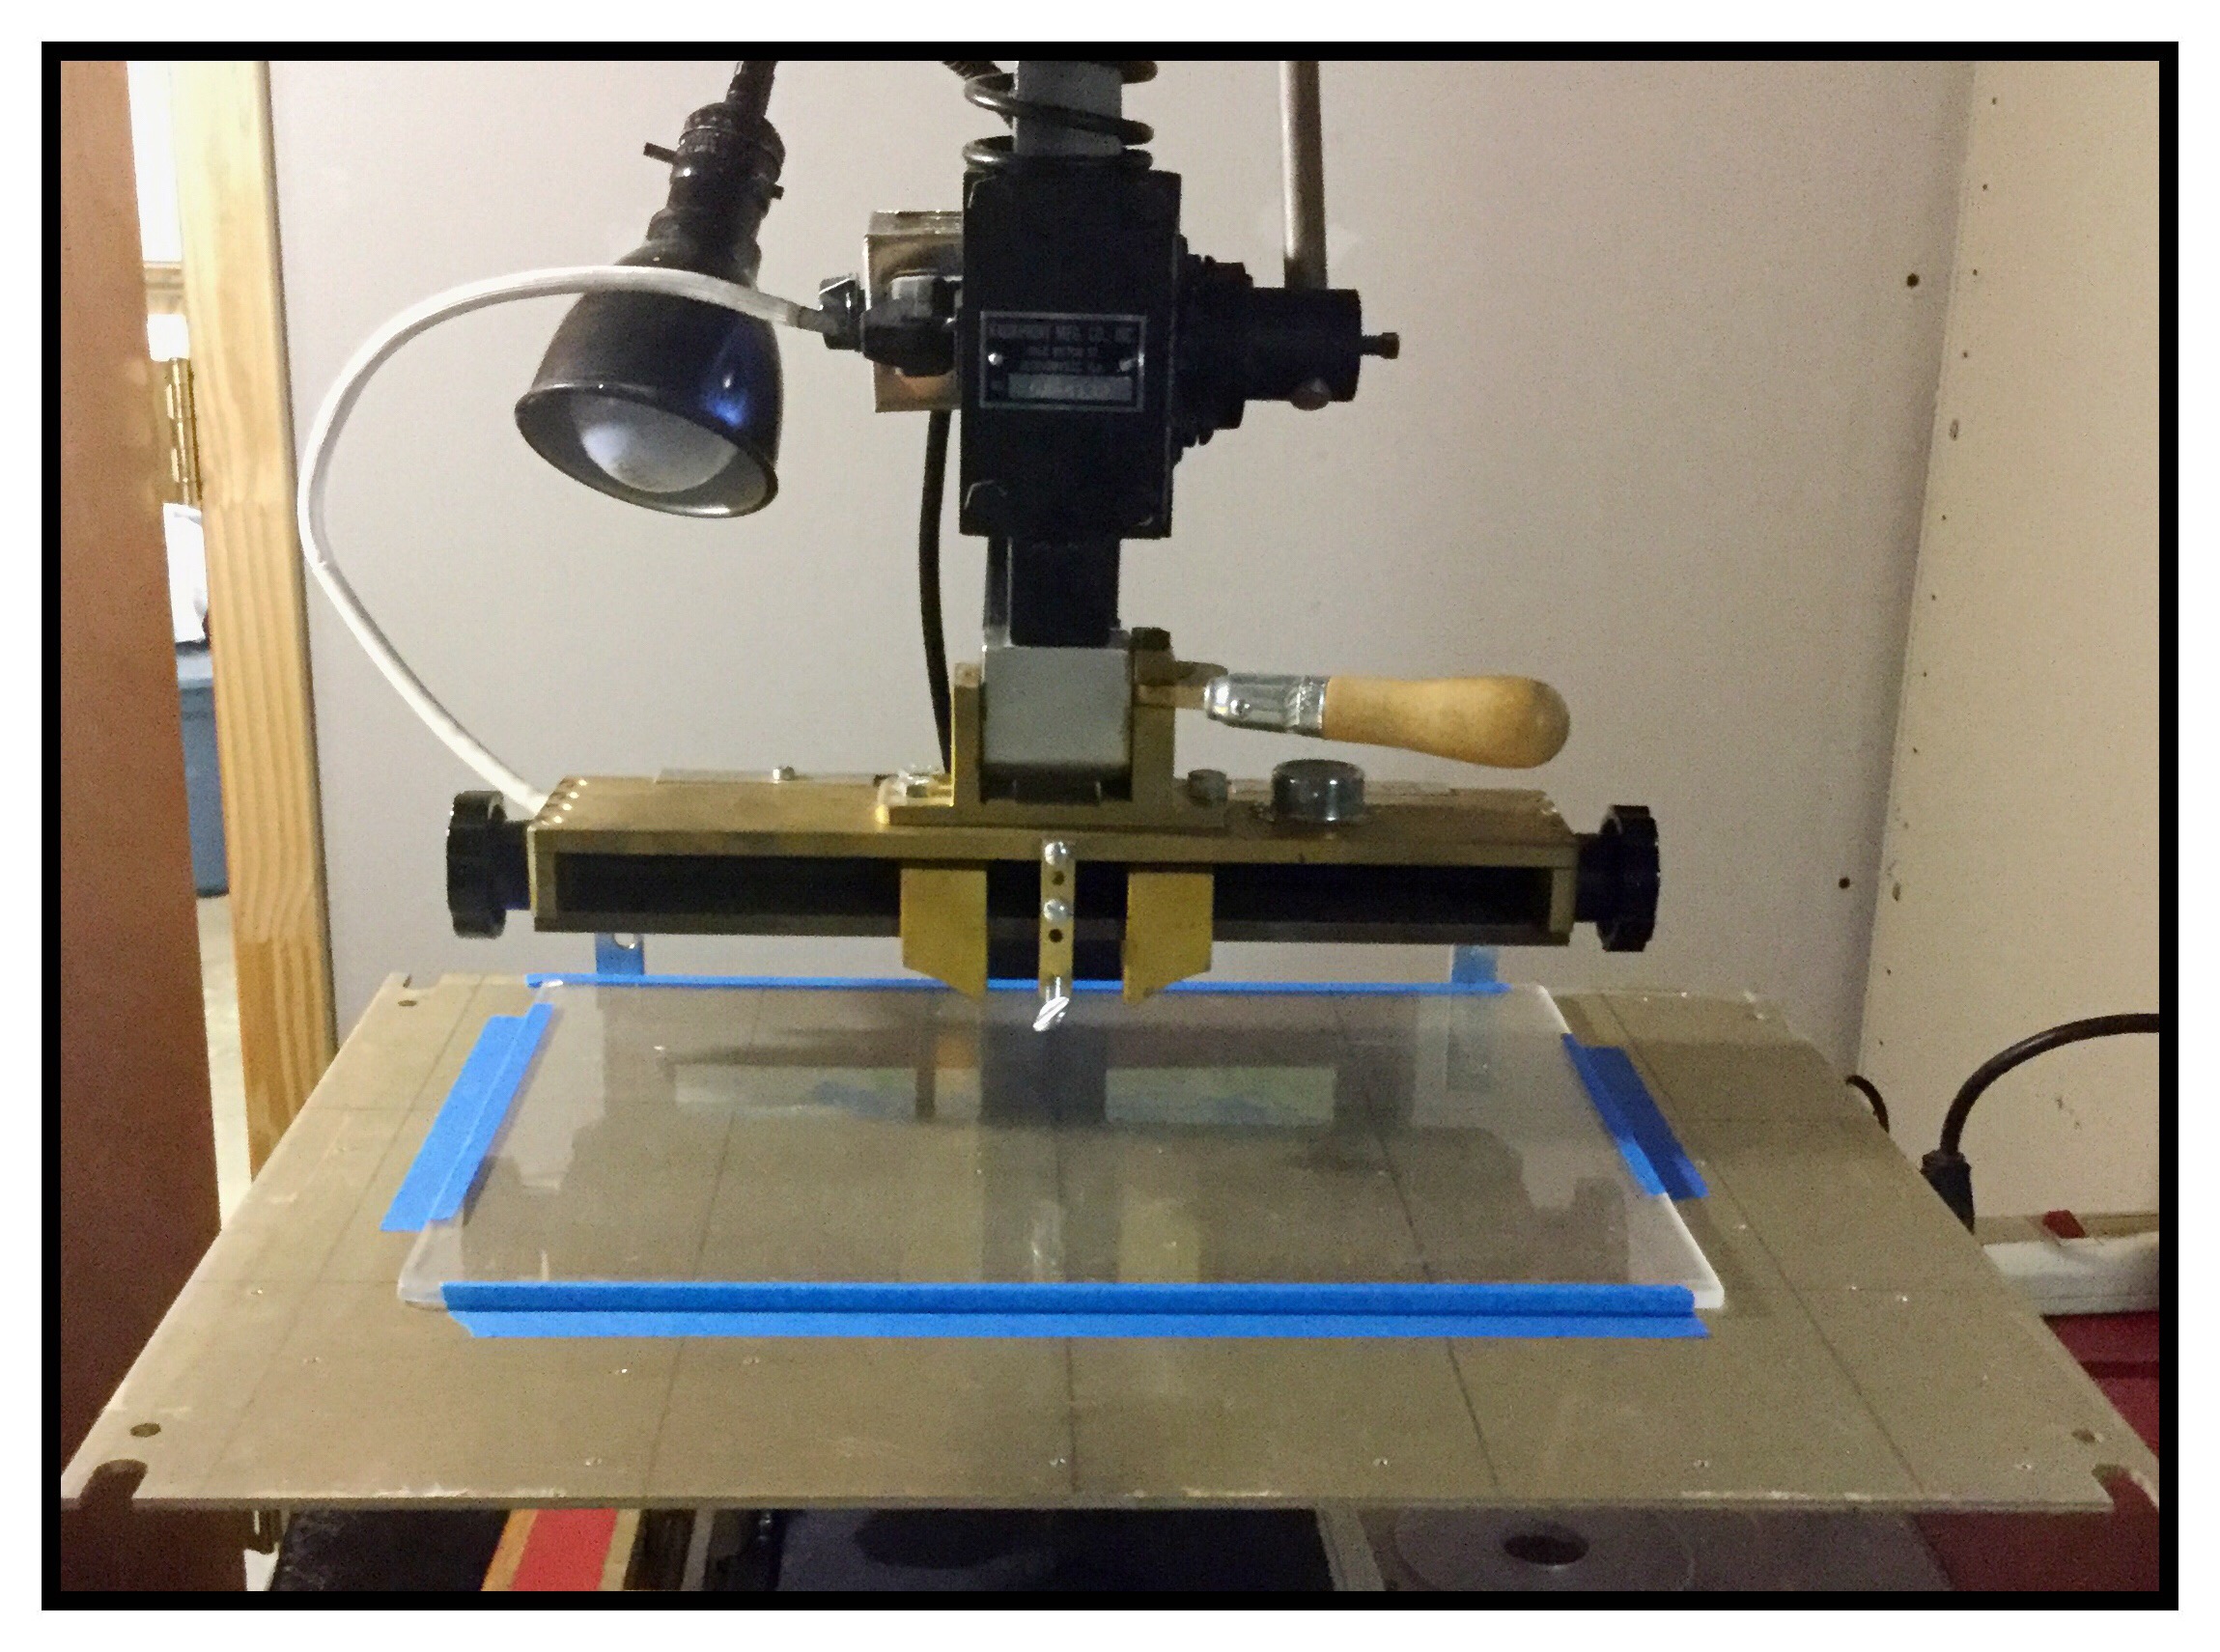
I laid out the text for a sample title using two dividers on card stock, drawing black lines at the top/base of each line of text. I affixed my blank label to the make-ready on the Force and taped everything down firmly. I placed my cartoon on the base, parallel to the table, and taped it down as well. I took a small Bridge City triangle and lined it up at the base of the first line, dialed the table back until I heard the tiniest click, the locked the table in place. This caused the table to rack slightly, so I adjusted it until it was right.
When I set up the first line of type, I realized that it was going to be too wide for the spine. I had to switch it out for a smaller font. And this was the first beautiful moment: since this was a smaller font, it was going to throw off the line spacing. I realized that I could simply align the type with the top of the line instead of the base. Since this was the bottom line of text, only the spacing above the line would matter. It took 30 seconds to reset the table position at the upper mark, lock it in place, and stamp. Then I worked my way up, aligning the triangle and holding it firmly in place as I moved and locked the table for each line.
The second line of the title was supposed to be an actual line, but the brass strip I use for these turned out to be too thin in cross section, and I wasn’t able to clamp it into the type holder. It kept slipping under the jaws. So I went ahead and stamped the rest of the label. When I reached the top line, I had another problem. I had originally laid out the title by drawing and marking with dividers from the base of each line. But since I had to change and align at the top edge – to accommodate the smaller type – I could not place the top line. Lucky for me I had kept my dividers set at the correct gap after drawing my guide cartoon, so I moved the table way forward, marked and drew in the new guideline, then cranked it back as before to stamp in exactly the right place. Then I picked out a large capital I and turned it sideways to make the short dash. Set up the triangle, clicked the table to it, and stamped it between the bottom two lines. Perfect.
It would have taken me much longer to set the lines using my old spacer or ruler method. And there’s no way I could have made all those adjustments on the fly, or gone back and inserted a line of text. I’m totally stoked about this little modification.
I think I could improve it by getting a small magnetic block to use in place of the triangle. I might also attach a thin, straight angle bar along the edge of the K-P base since it’s not perfectly straight and flat. That would also let me along my block or triangle so it’s square to the direction of travel. I see no need to straighten out the slight bend in the table’s bar – as long as it just touches the triangle it doesn’t matter.
Now I can not only take the material off the press and restamp it thanks to the Force, I can go back to the correct line placement. I wouldn’t use that method to add letters to a line, though it would be better than trying to eyeball it.
If you already have a nice hot stamping machine with a reference bar, you might not need to kludge anything together like this. But if not, this one small mod will make your stamping life easier.
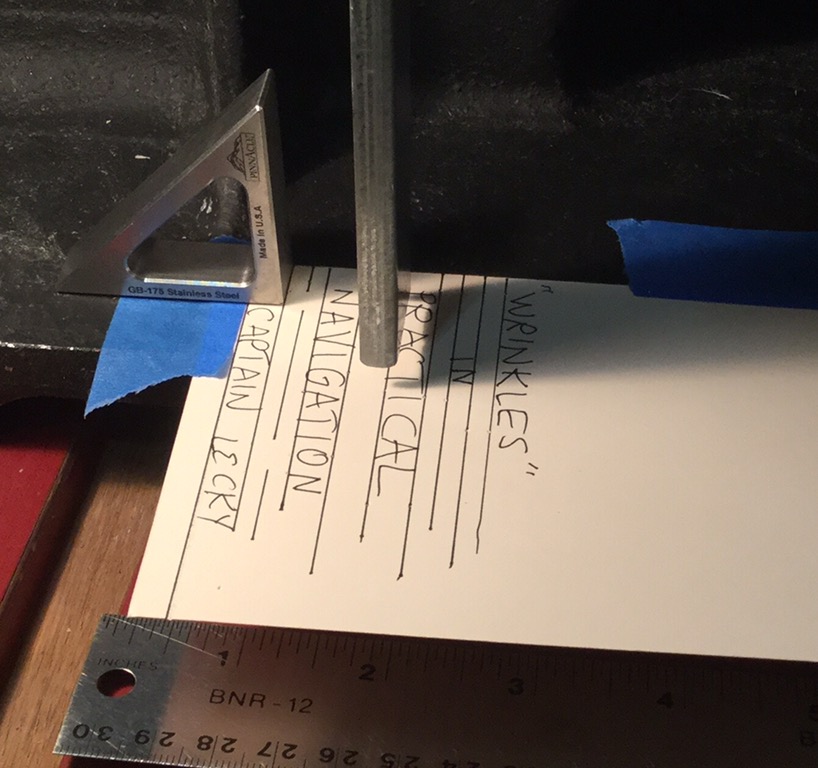
The triangle in place on the cartoon.
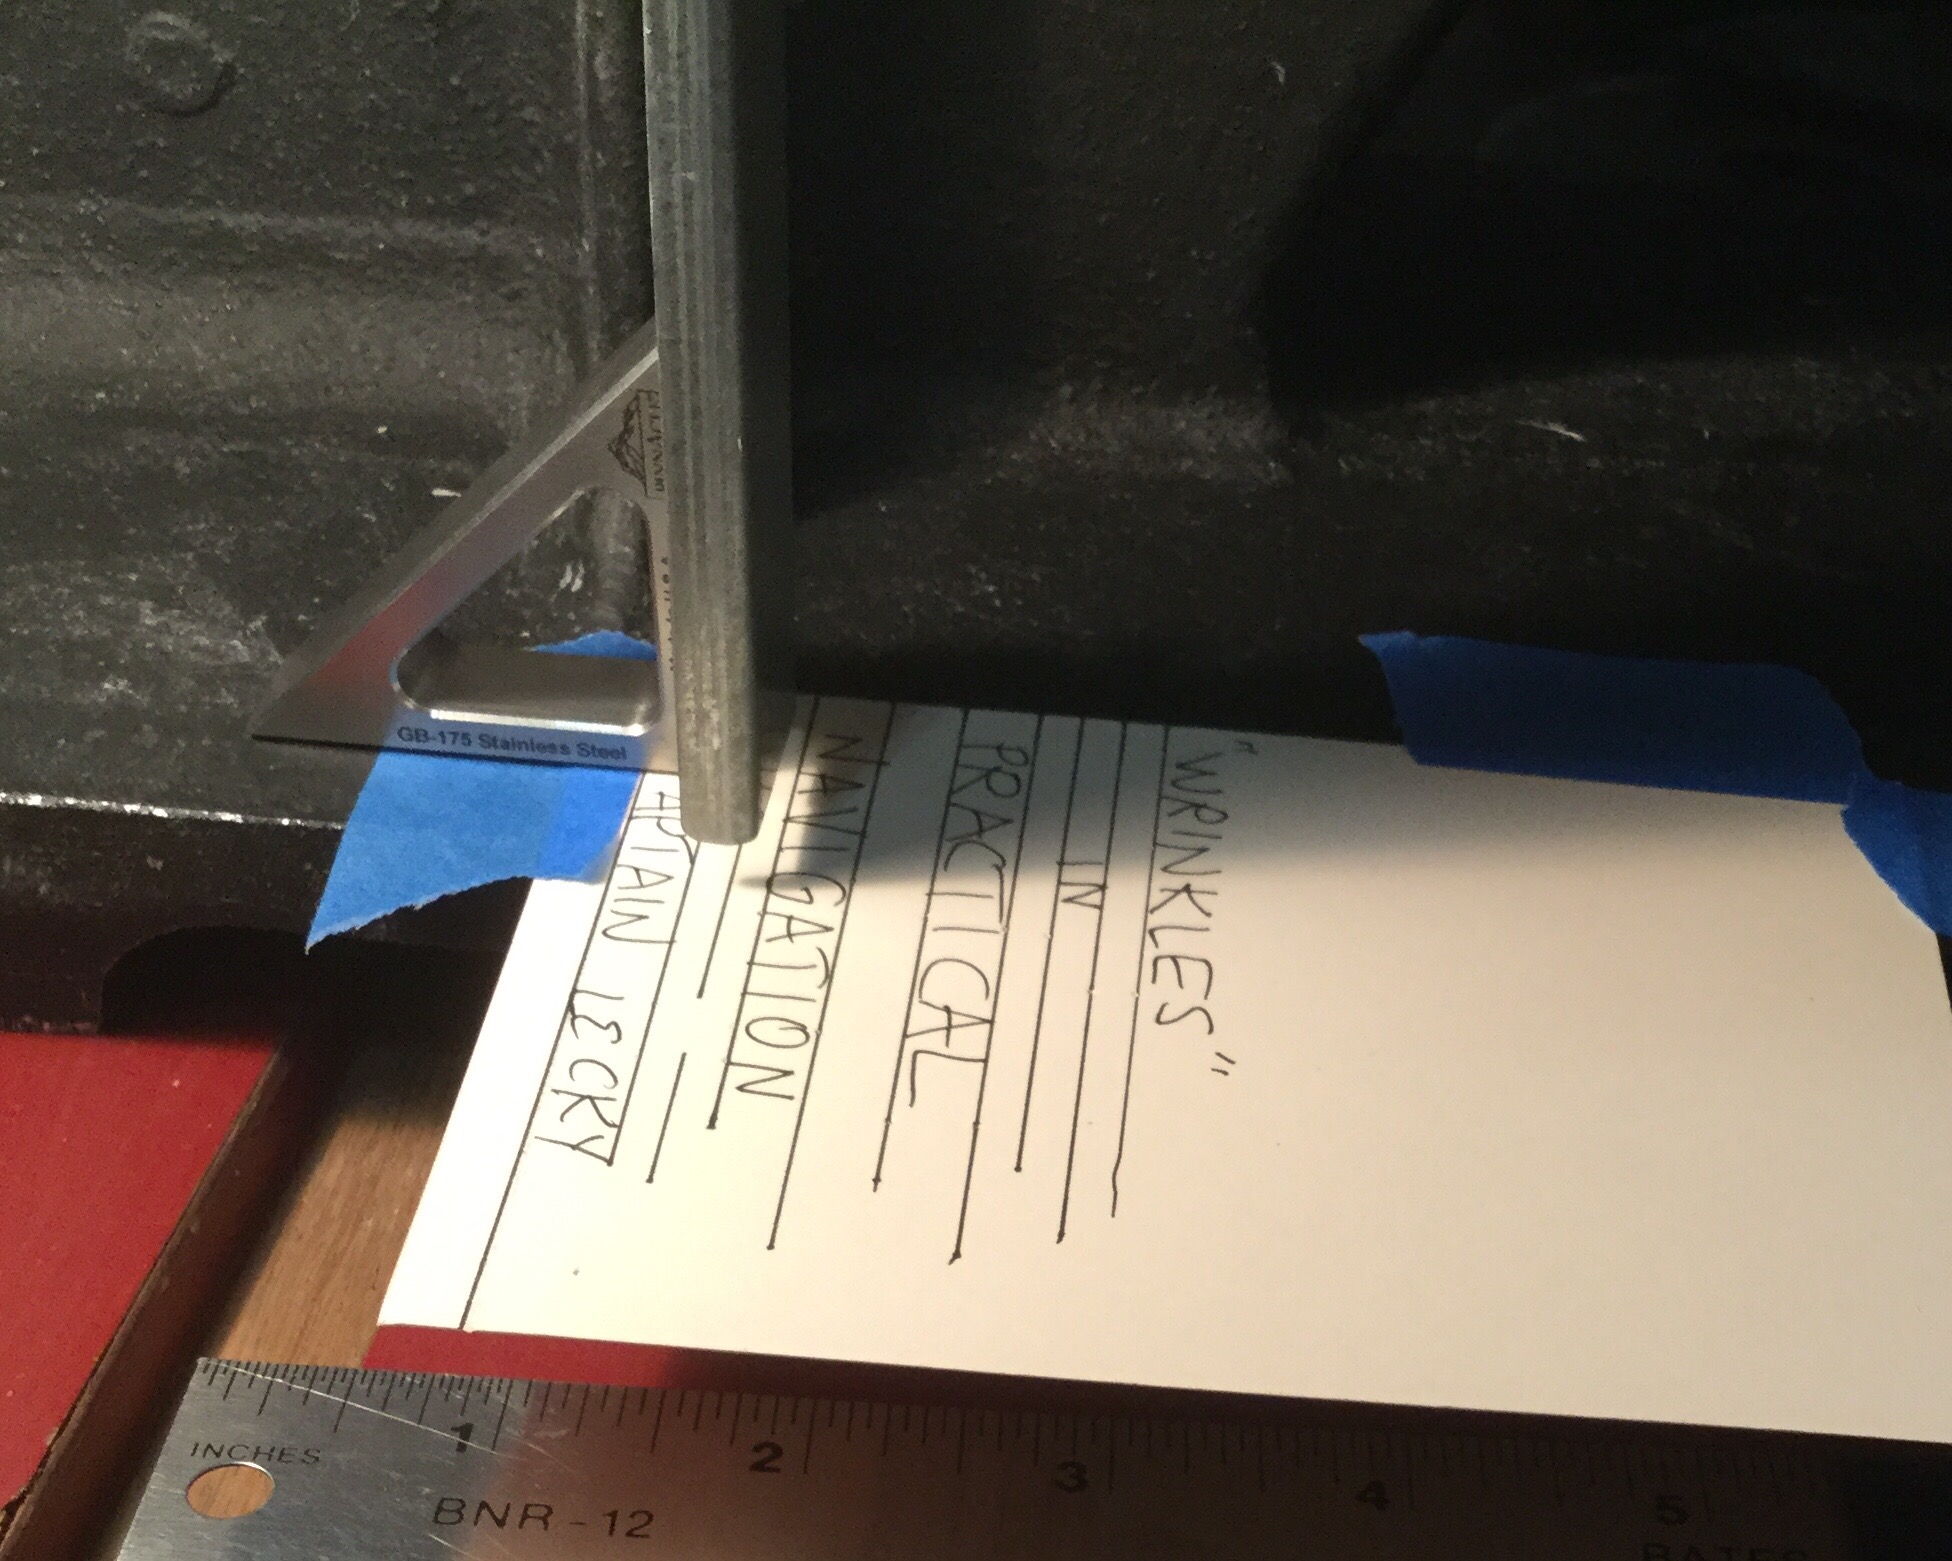
The table adjusted so the bar just barely clicks against the triangle.